What Are Rissoles? A Brief History of This Classic Dish
Rissoles have been enjoyed in many cultures for centuries, though their exact origin is hard to trace. The name “rissole” comes from the French word “rissoler,” meaning “to brown”, which refers to the crispy, seared exterior of these patties.
Different versions of rissoles exist around the world:
- In Australia and New Zealand, beef rissoles are a staple, often cooked on the barbecue or served with gravy and sides.
- In the UK, rissoles can be found in fish and chip shops, sometimes filled with minced meat or mashed potatoes.
- In Portugal, rissóis are small, deep-fried pastries filled with meat or seafood.
The Australian-style beef rissole has become especially popular due to its simplicity, bold flavor, and versatility.
Why You’ll Love This Beef Rissole Recipe
These homemade beef rissoles are a fantastic addition to your meal rotation, and here’s why:
- Juicy and Flavorful: The combination of minced beef, onion, garlic, Worcestershire sauce, and ketchup creates an umami-packed flavor.
- Golden and Crispy Crust: The breadcrumbs in the mixture help create a crispy exterior while keeping the inside moist and tender.
- Versatile Dish: You can serve them with mashed potatoes, in sandwiches, or as a party appetizer.
- Easy to Make: These rissoles require simple ingredients and minimal prep time, making them ideal for busy weeknights.
- Great for Meal Prep: They can be made ahead, frozen, and reheated easily.
Key Ingredients That Make These Rissoles Special
1. Minced Beef: The Star of the Dish
Using regular ground beef (80/20 fat ratio) ensures that the rissoles stay juicy and flavorful. If using leaner beef, consider adding a bit of olive oil or an extra egg to keep the mixture moist.
For variations, you can substitute:
- Ground pork for a slightly sweeter, juicier flavor.
- Ground chicken or turkey for a leaner, healthier alternative.
2. Breadcrumbs for Texture and Moisture
Breadcrumbs help bind the ingredients together while keeping the rissoles light and tender. You can use:
- Panko breadcrumbs for a crispier texture.
- Fresh homemade breadcrumbs for a softer bite.
- Gluten-free breadcrumbs to make the dish gluten-free.
3. Worcestershire Sauce and Ketchup: The Secret to Depth of Flavor
These two ingredients provide a delicious balance of tanginess, sweetness, and umami. Worcestershire sauce enhances the savory richness, while ketchup adds a touch of sweetness and acidity.
4. Onion and Garlic for Aromatic Goodness
Grated onion adds moisture and sweetness, while garlic gives the rissoles a bold, aromatic depth. Instead of grating, you can finely mince the onion if you prefer a bit more texture in your patties.
5. Egg for Binding
The egg helps hold everything together, ensuring the rissoles keep their shape while cooking. If you need an egg-free alternative, try using:
- Mashed potatoes
- A flaxseed and water mixture (1 tablespoon flaxseed + 3 tablespoons water)
Cooking Methods: Pan-Frying vs. Air Frying
You can cook beef rissoles in two different ways, depending on your preference:
1. Pan-Frying for a Classic, Crispy Finish
Pan-frying gives the rissoles a beautiful golden crust while keeping the inside juicy and tender. Cooking over medium-low heat ensures that the rissoles cook through without burning on the outside.
To enhance the flavor, you can deglaze the pan with a bit of water after frying to create a simple pan sauce to drizzle over the rissoles.
2. Air Frying for a Healthier Option
If you want a lighter version, cooking rissoles in an air fryer is a fantastic alternative. The hot air circulates around the patties, creating a crispy exterior with less oil.
- Preheat the air fryer to 180°C (350°F).
- Lightly brush the rissoles with oil.
- Air fry for 10-12 minutes, flipping halfway through.
This method results in crispy yet juicy rissoles without the extra oil from pan-frying.
Ways to Customize Your Rissoles
1. Add Cheese for Extra Indulgence
For cheesy rissoles, try mixing grated cheddar or Parmesan into the mixture. The cheese melts while cooking, creating a gooey and rich texture inside.
2. Make Them Spicy
If you love heat, add:
- Chili flakes for a mild kick.
- Fresh diced jalapeños for extra spice.
- A teaspoon of hot sauce for a tangy, fiery boost.
3. Create a Mediterranean Twist
For a Mediterranean-style rissole, mix in:
- Chopped fresh parsley and oregano
- Crumbled feta cheese
- A squeeze of lemon juice
Best Ways to Serve Beef Rissoles
Beef rissoles can be enjoyed in many different ways, making them a staple meal for any occasion.
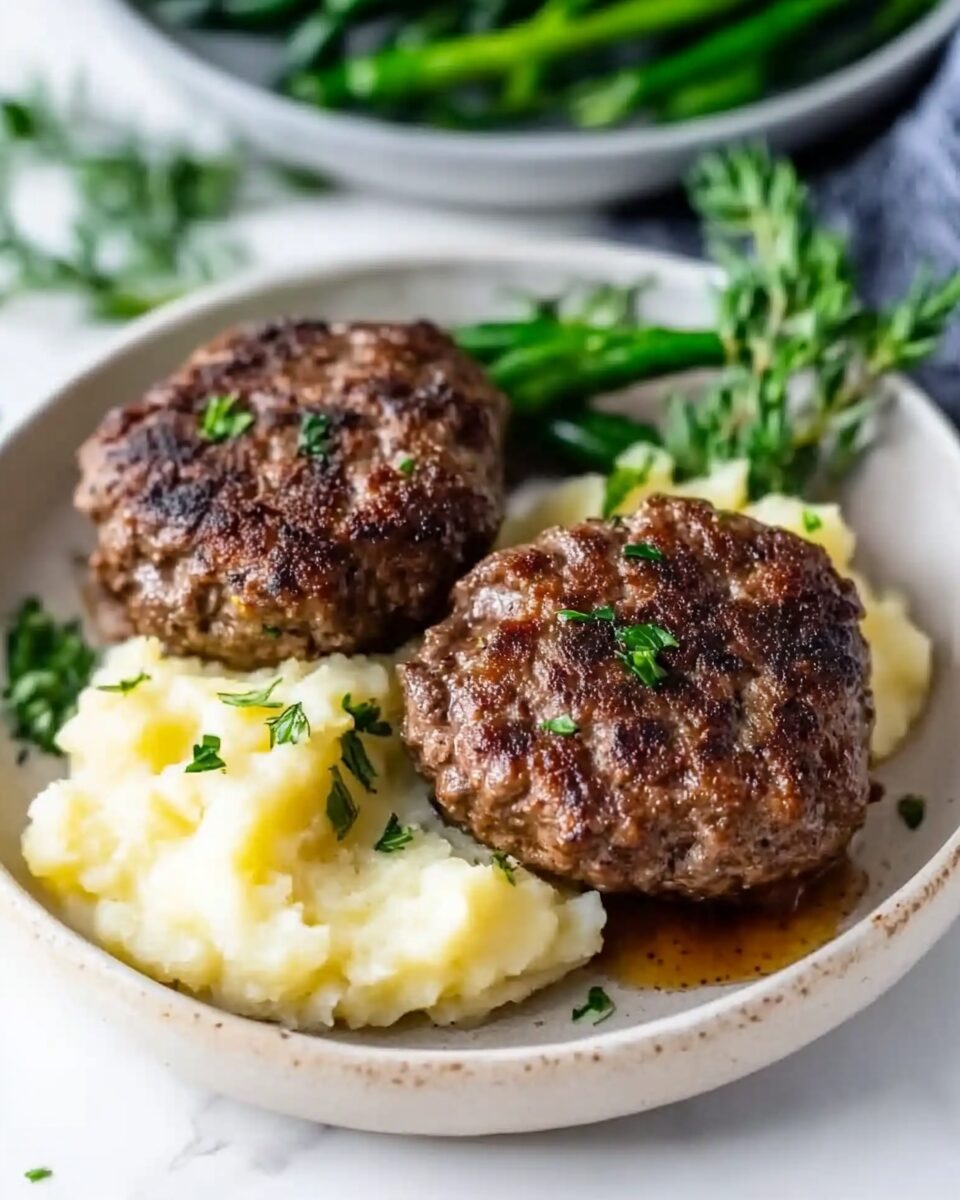
- With Mashed Potatoes & Vegetables: A classic pairing with creamy mashed potatoes and steamed greens.
- As a Burger or Sandwich Filling: Serve in a toasted bun with lettuce, tomato, and sauce for a delicious homemade burger.
- With Gravy: Serve alongside a rich onion or mushroom gravy for a comforting meal.
- Cold in Lunchboxes: These rissoles taste great cold, making them a perfect lunchbox addition for kids and adults alike.
Storage and Reheating Tips
1. Storing Leftovers
- Keep cooked rissoles in an airtight container in the fridge for up to 3 days.
- Freeze uncooked rissoles in a single layer on a baking sheet, then transfer them to a freezer bag. They will keep for up to 3 months.
2. Reheating
- Stovetop: Warm in a pan over low heat for 3-5 minutes per side.
- Air Fryer: Reheat at 160°C (320°F) for 5-7 minutes.
- Microwave: Heat on medium power for 1-2 minutes, but note that this may soften the crispy crust.
Conclusion: A Must-Try Family Favorite
Beef rissoles are a simple yet incredibly satisfying dish that brings crispy, juicy, and flavorful bites to the table. Whether you serve them hot with sides, in a sandwich, or cold for lunch, they’re a versatile and easy meal that everyone will love.
With minimal ingredients, easy preparation, and multiple cooking methods, these rissoles are a perfect go-to recipe for busy weeknights or meal prepping. Try them once, and they’ll quickly become a staple in your kitchen!