
There’s something incredibly satisfying about creating a sweet treat that requires no baking at all. Imagine the smell of crushed Oreo cookies mingling with creamy cream cheese, all encased in a decadent chocolate coating. This delightful memory often comes to mind when I whip up these No-Bake Gluten-Free Oreo Balls. They’re the perfect blend of nostalgia and indulgence—ideal for celebrations or simply a cozy evening at home when you want to treat yourself without the fuss.
One of the best aspects of this recipe is its versatility. You can easily whip up a batch with gluten-free or dairy-free options, making them suitable for everyone at your gathering. Whether you’re a seasoned chef or just looking for an easy recipe to share with the kids, this one delivers rich flavors and a fun experience.
Once you get a taste of these melt-in-your-mouth morsels, you’ll understand why they’re quickly becoming a favorite in my household. Let’s dive into the joy of making the best Oreo balls ever!
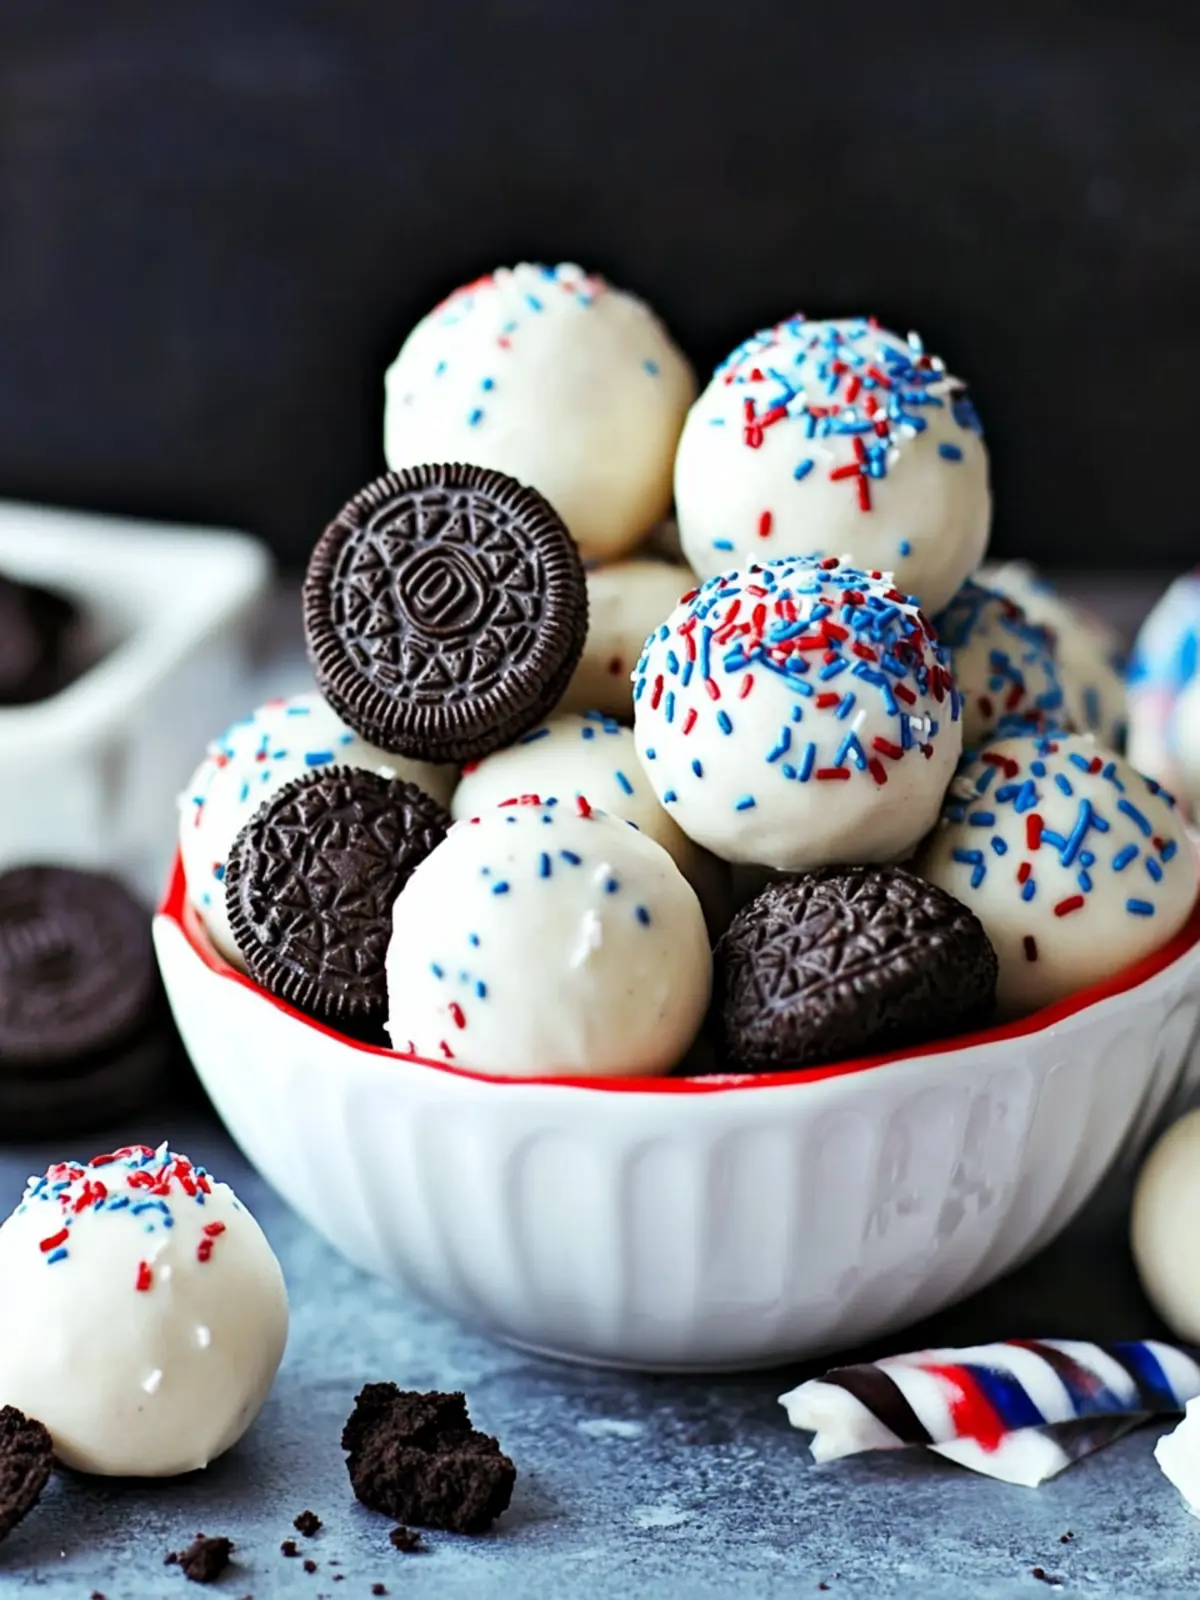
Why are The Best Oreo Balls Recipe a Must-Try?
Simplicity: This no-bake recipe comes together in just minutes, making it perfect for busy weeknights or last-minute gatherings.
Rich, Indulgent Flavor: The creamy, dreamy combination of Oreo cookies and cream cheese delivers a flavorful punch.
Versatile Options: Easily adapt this recipe for gluten-free and dairy-free needs, ensuring everyone can enjoy them!
Fun Family Activity: Get the kids involved in the mixing and rolling, turning dessert-making into a memorable experience.
Party Favorite: These bite-sized treats are perfect for any occasion, guaranteed to be a hit at your next celebration or gathering!
The Best Oreo Balls Ingredients
For the Oreo Mixture
• Oreo Cookies – These give the base flavor and texture; choose gluten-free Oreos for a gluten-free version.
• Cream Cheese – This creamy ingredient binds the cookie crumbs together; use vegan cream cheese for a dairy-free option.
For the Chocolate Coating
• White Almond Bark Chocolate – Coats the Oreo balls with a sweet finish; it hardens quickly, making it ideal for this recipe.
• Candy Melts (Red & Blue) – Optional for decorative drizzling; be sure they are gluten-free and dairy-free as needed.
For the Finish
• Sprinkles – Add visual appeal and a fun texture; look for gluten-free sprinkles if necessary.
Discover the joy of making the best Oreo balls and indulge in a treat that everyone will love!
How to Make The Best Oreo Balls
-
Prepare your workspace: Line a baking sheet with parchment paper to prevent sticking. This makes for easy clean-up and helps the Oreo balls stay perfectly formed as they chill.
-
Crush the cookies: Use a food processor to pulse the Oreo cookies into fine crumbs. If you don’t have one, place them in a sealed bag and roll with a pin until they resemble sand—it’s fun for the kids too!
-
Mix the filling: Combine the crushed Oreo crumbs with softened cream cheese in a large bowl. Stir until thoroughly blended, creating a rich and creamy mixture that’s easy to shape.
-
Form the balls: Using a cookie scoop or your hands, roll the mixture into small balls, about 1 inch in diameter. Smooth them out between your palms for a pretty finish.
-
Chill the mixture: Place your formed Oreo balls in the refrigerator and chill for at least 30 minutes. This helps them firm up for easier coating in chocolate.
-
Melt the chocolate: In a microwave-safe bowl, melt the white almond bark chocolate in 30-second increments. Stir until smooth and fully melted, ensuring it’s not too thick for dipping.
-
Dip the balls: Take the chilled Oreo balls out of the fridge and dip each into the melted chocolate. Allow any excess to drip off back into the bowl before placing them on the lined baking sheet.
-
Let them harden: Allow the dipped Oreo balls to set on the parchment-lined sheet until the chocolate is firm. At this point, they’ll be ready for some festive decoration!
-
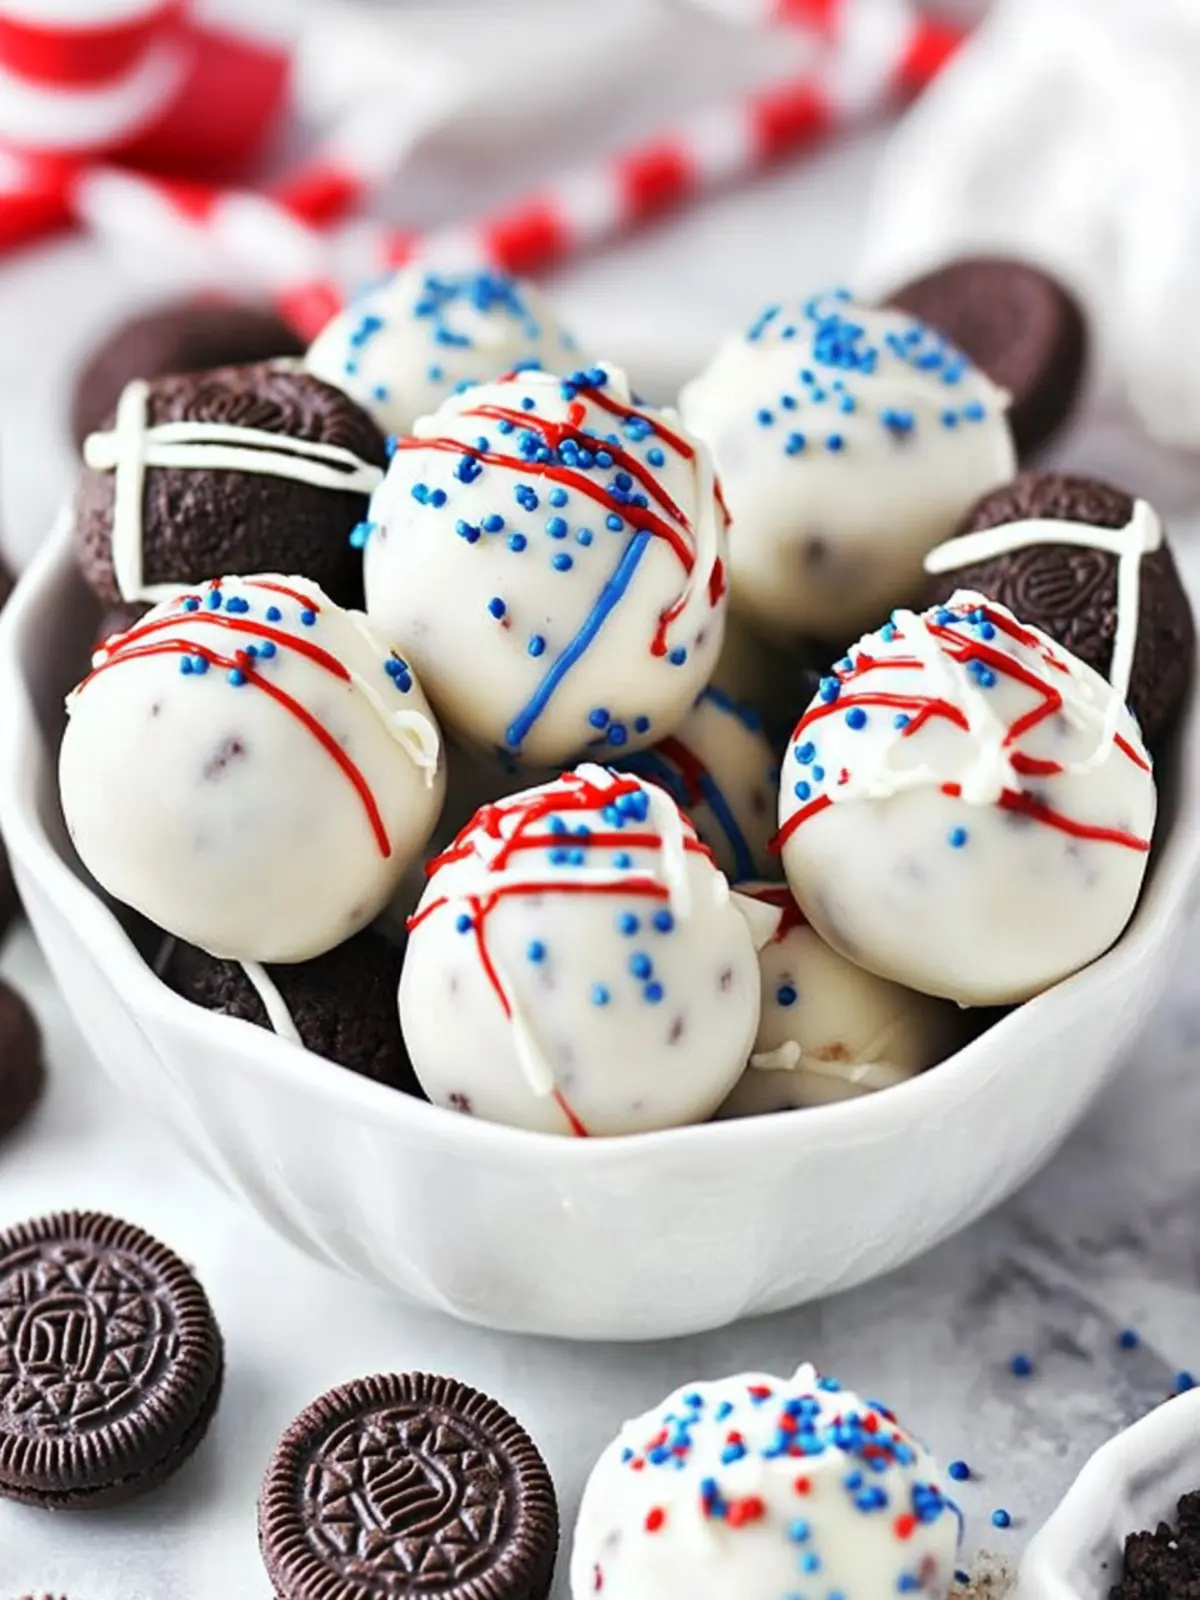
Decorate if desired: Melt the red and blue candy melts in separate bowls and drizzle over the hardened white chocolate for a pop of color. Feel free to be creative with your designs!
-
Sprinkle fun: While the chocolate drizzle is still wet, sprinkle some fun, colorful sprinkles on top for that extra touch of festivity.
-
Store them well: Transfer the finished Oreo balls to an airtight container and store them in the refrigerator until you’re ready to serve. They can last up to two weeks, but I doubt they’ll last that long!
Optional: Dip in crushed nuts or coconut for added flavor and texture.
Exact quantities are listed in the recipe card below.

Helpful Tricks for The Best Oreo Balls
-
Room Temperature Cream Cheese: Ensure your cream cheese is at room temperature for easier mixing, preventing lumps and creating a smooth filling.
-
Cookie Crumb Consistency: Crush Oreo cookies into fine crumbs; larger pieces can lead to uneven texture, affecting the final taste.
-
Chill for Firmness: Chill the balls for at least 30 minutes before coating. This helps them maintain their shape and makes dunking in chocolate easier.
-
Chocolate Melting Tip: Add a teaspoon of vegetable oil to the melted almond bark if it’s too thick; this will create a smoother coating for your best Oreo balls.
-
Decorate Promptly: Drizzle melted candy melts and add sprinkles while the chocolate is wet to ensure they stick beautifully.
-
Storage Reminder: Store your Oreo balls in an airtight container in the refrigerator to keep them fresh for up to two weeks. Enjoy the deliciousness!
What to Serve with The Best Oreo Balls Recipe?
Creating the perfect meal is all about balance and harmony, and these delightful no-bake treats pair wonderfully with other flavors and textures.
-
Chilled Milk:
This classic beverage smoothens the rich flavors of the Oreo balls, making every bite feel even more indulgent. Try whole, almond, or oat milk for a fun twist! -
Rich Coffee:
A bold cup of coffee offsets the sweetness of the chocolate coating perfectly. The warmth and depth of flavor create a comforting contrast that complements every bite. -
Fresh Berries:
Brighten up your platter with strawberries or raspberries; their tartness contrasts beautifully with the creamy sweetness. Plus, the colors make for an eye-catching presentation! -
Ice Cream:
Choosing vanilla or chocolate ice cream adds a luscious creaminess that pairs exquisitely with the Oreo balls. The contrast in temperature creates a delightful texture experience! -
Fruit Salad:
A vibrant fruit salad offers freshness and a touch of natural sweetness, balancing out the rich flavors of the Oreo balls while adding a refreshing crunch. -
Homemade Whipped Cream:
Serve a dollop of freshly whipped cream on the side for an extra touch of indulgence. It serves as a delightful foil to the rich, creamy Oreo centers.
Each of these pairings enhances the experience of enjoying the best Oreo balls, crafting a memorable occasion filled with sweet delights!
Storage Tips for The Best Oreo Balls
Fridge: Store the Oreo balls in an airtight container in the refrigerator for up to 2 weeks, keeping them fresh and delicious.
Freezer: For longer storage, freeze the Oreo balls in a single layer on a baking sheet before transferring them to an airtight container. They can be frozen for up to 3 months.
Defrosting: When ready to enjoy, transfer the frozen Oreo balls to the fridge for several hours or overnight to defrost slowly; this prevents them from becoming too soft.
Reheating: There’s no need to reheat the Oreo balls; serve them chilled straight from the fridge for that perfect melt-in-your-mouth experience!
Oreo Balls Variations & Substitutions
Feel free to get creative and customize these delightful treats to suit your taste and dietary needs!
-
Gluten-Free: Substitute regular Oreos with gluten-free Oreo cookies to make these treats accessible for everyone. It’s a simple switch that ensures delightful flavors remain intact.
-
Dairy-Free: Use vegan cream cheese and dairy-free chocolate to create a version that’s just as creamy and delicious without the dairy. Your friends won’t even notice the difference!
-
Flavor Twists: Experiment with different flavored Oreos like mint or peanut butter to give your Oreo balls a delicious twist, enhancing their flavor profile. Each version offers a unique tasting experience that will surprise and delight!
-
Cake Pops: Transform these Oreo balls into cake pops by inserting lollipop sticks after chilling and before dipping in chocolate. These are perfect for a fun, handheld treat!
-
Nutty Crunch: Add crushed nuts like walnuts or pecans to the Oreo mixture for a delightful crunch and added flavor. It creates a lovely contrast with the creamy center.
-
Peppermint Flavor: Stir in a few drops of peppermint extract into the cream cheese mixture for a refreshing twist that’s perfect for the holiday season.
-
Spicy Twist: If you enjoy a little heat, sprinkle a bit of chili powder or cayenne pepper into the mixture for a surprising kick that will intrigue adventurous palates.
-
Decorative Flair: Get creative with toppings by using shredded coconut or mini chocolate chips instead of sprinkles for a different look and flavor. Each variation adds a unique personality to your treats!
Make Ahead Options
These delightful Oreo Balls are perfect for meal prep enthusiasts! You can prepare the Oreo mixture up to 24 hours in advance by making the filling and rolling it into balls, then refrigerating them to maintain their shape. Keep the chilled balls stored in an airtight container until you’re ready to dip them in chocolate. Just before serving, simply melt the white almond bark and coat the chilled balls as instructed. This way, your Oreo balls will be just as delicious, saving you valuable time during busy weeknights or celebrations. A little prep goes a long way in making your life easier, so enjoy the process and the smiles they’ll bring!
The Best Oreo Balls Recipe FAQs
How do I select the best Oreos for this recipe?
Absolutely! For the best flavor, choose fresh Oreo cookies without dark spots or visible damage. If you’re making gluten-free Oreo balls, ensure you select certified gluten-free Oreos. These small details make a big difference in the final taste and texture of your treats.
How should I store Oreo balls after making them?
You can store your Oreo balls in an airtight container in the refrigerator for up to 2 weeks. Ensure the container is tightly sealed to maintain their delightful freshness. If you want to extend their shelf life, consider freezing them.
Can I freeze the Oreo balls, and how?
Very! To freeze your Oreo balls, first place them in a single layer on a baking sheet. Once frozen solid, transfer them to an airtight container or freezer bag, separating layers with parchment paper. They can last up to 3 months in the freezer. When you’re ready to enjoy them, move them to the fridge for several hours or overnight to thaw.
What if my Oreo mixture is too crumbly?
If your mixture feels too crumbly and hard to form into balls, don’t worry! Simply add a bit more softened cream cheese—start with a tablespoon at a time—mixing it in thoroughly until you achieve a consistency that easily forms into smooth balls.
Are there any allergy considerations I should be aware of?
Absolutely! This recipe contains dairy and gluten from the Oreos and cream cheese. For a dairy-free version, use vegan cream cheese and dairy-free chocolate. If you have nut allergies, check to ensure your chocolate and sprinkles are nut-free, as some brands may process their products in facilities that handle nuts.
Can I customize the flavors of my Oreo balls?
Yes, indeed! You can experiment by using flavored Oreos, such as mint or peanut butter, to create a unique taste experience. Additionally, incorporating extracts like peppermint or almond will give your Oreo balls an extra flavor kick. Always remember to mix thoroughly!
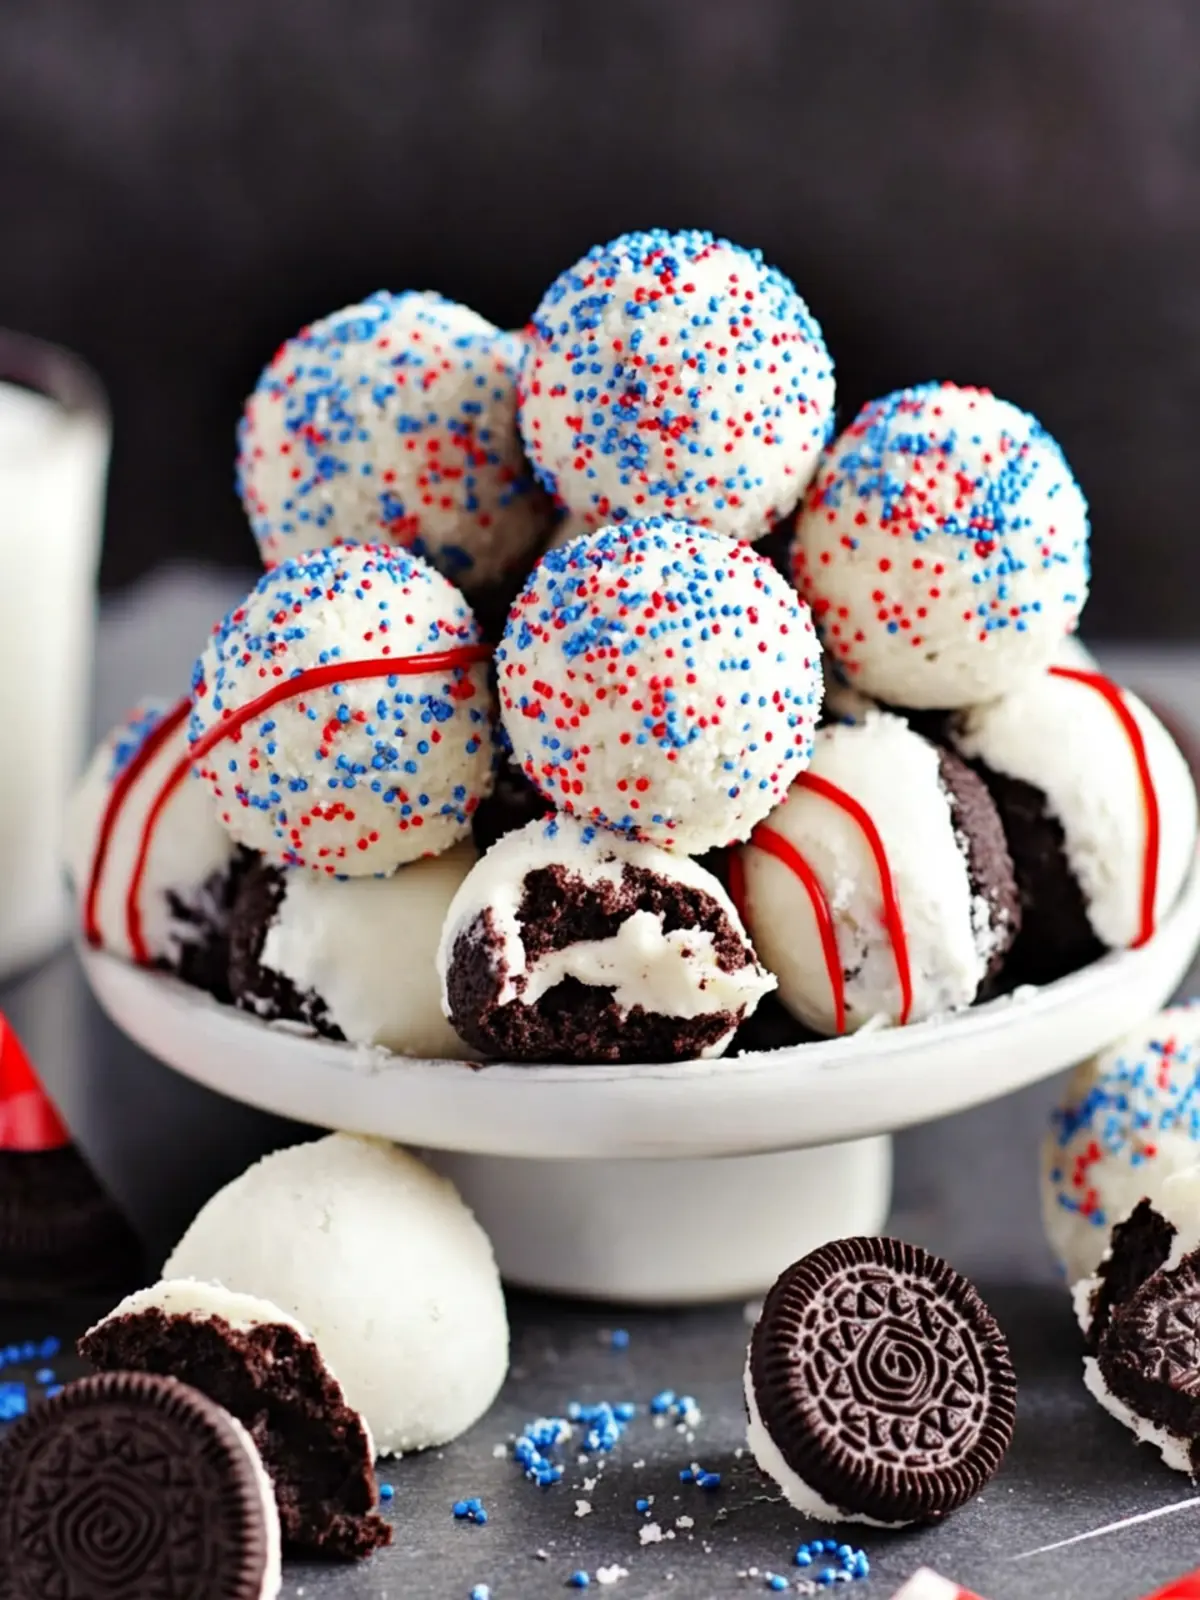
The Best Oreo Balls Recipe You’ll Want to Share & Make
Ingredients
Equipment
Method
- Prepare your workspace: Line a baking sheet with parchment paper to prevent sticking.
- Crush the cookies: Use a food processor to pulse the Oreo cookies into fine crumbs.
- Mix the filling: Combine the crushed Oreo crumbs with softened cream cheese in a large bowl.
- Form the balls: Roll the mixture into small balls, about 1 inch in diameter.
- Chill the mixture: Place your formed Oreo balls in the refrigerator and chill for at least 30 minutes.
- Melt the chocolate: In a microwave-safe bowl, melt the white almond bark chocolate in 30-second increments.
- Dip the balls: Dip each chilled Oreo ball into the melted chocolate.
- Let them harden: Allow the dipped Oreo balls to set on the lined baking sheet until the chocolate is firm.
- Decorate if desired: Drizzle melted candy melts over the hardened chocolate for decoration.
- Sprinkle fun: While the chocolate drizzle is still wet, sprinkle colorful sprinkles on top.
- Store them well: Transfer the finished Oreo balls to an airtight container in the refrigerator.