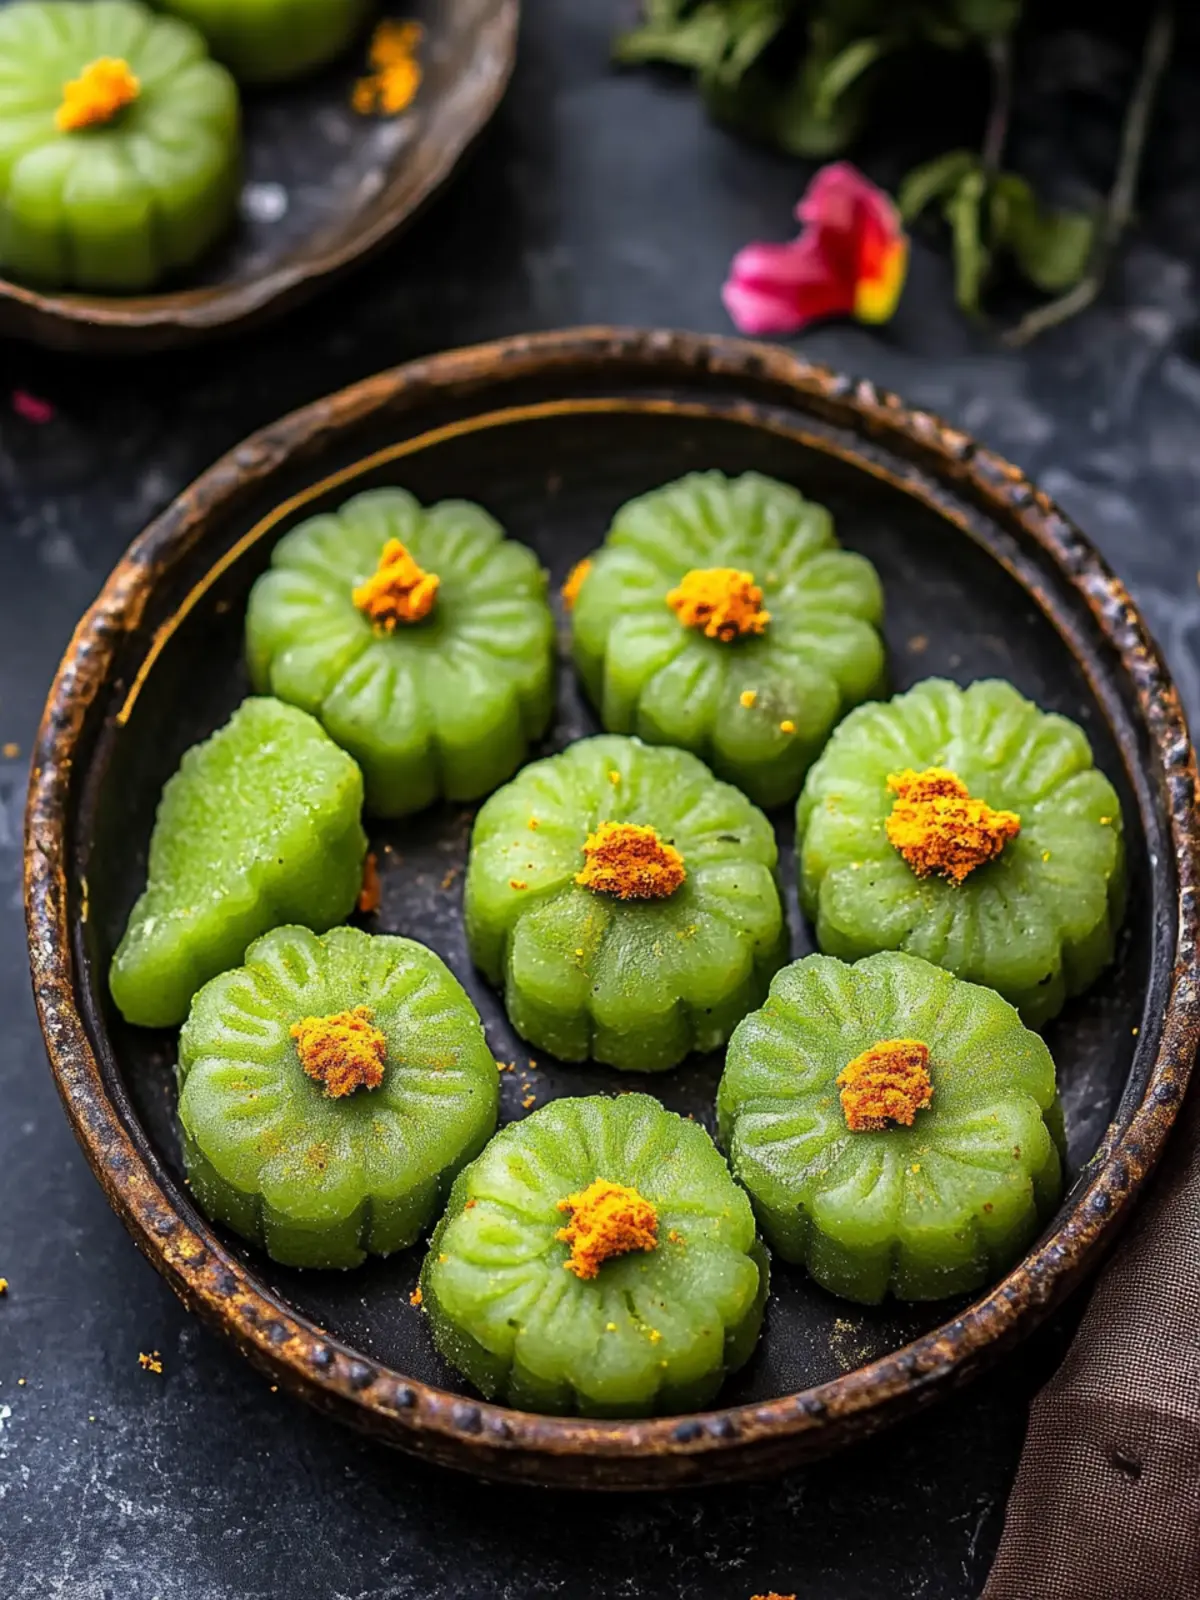
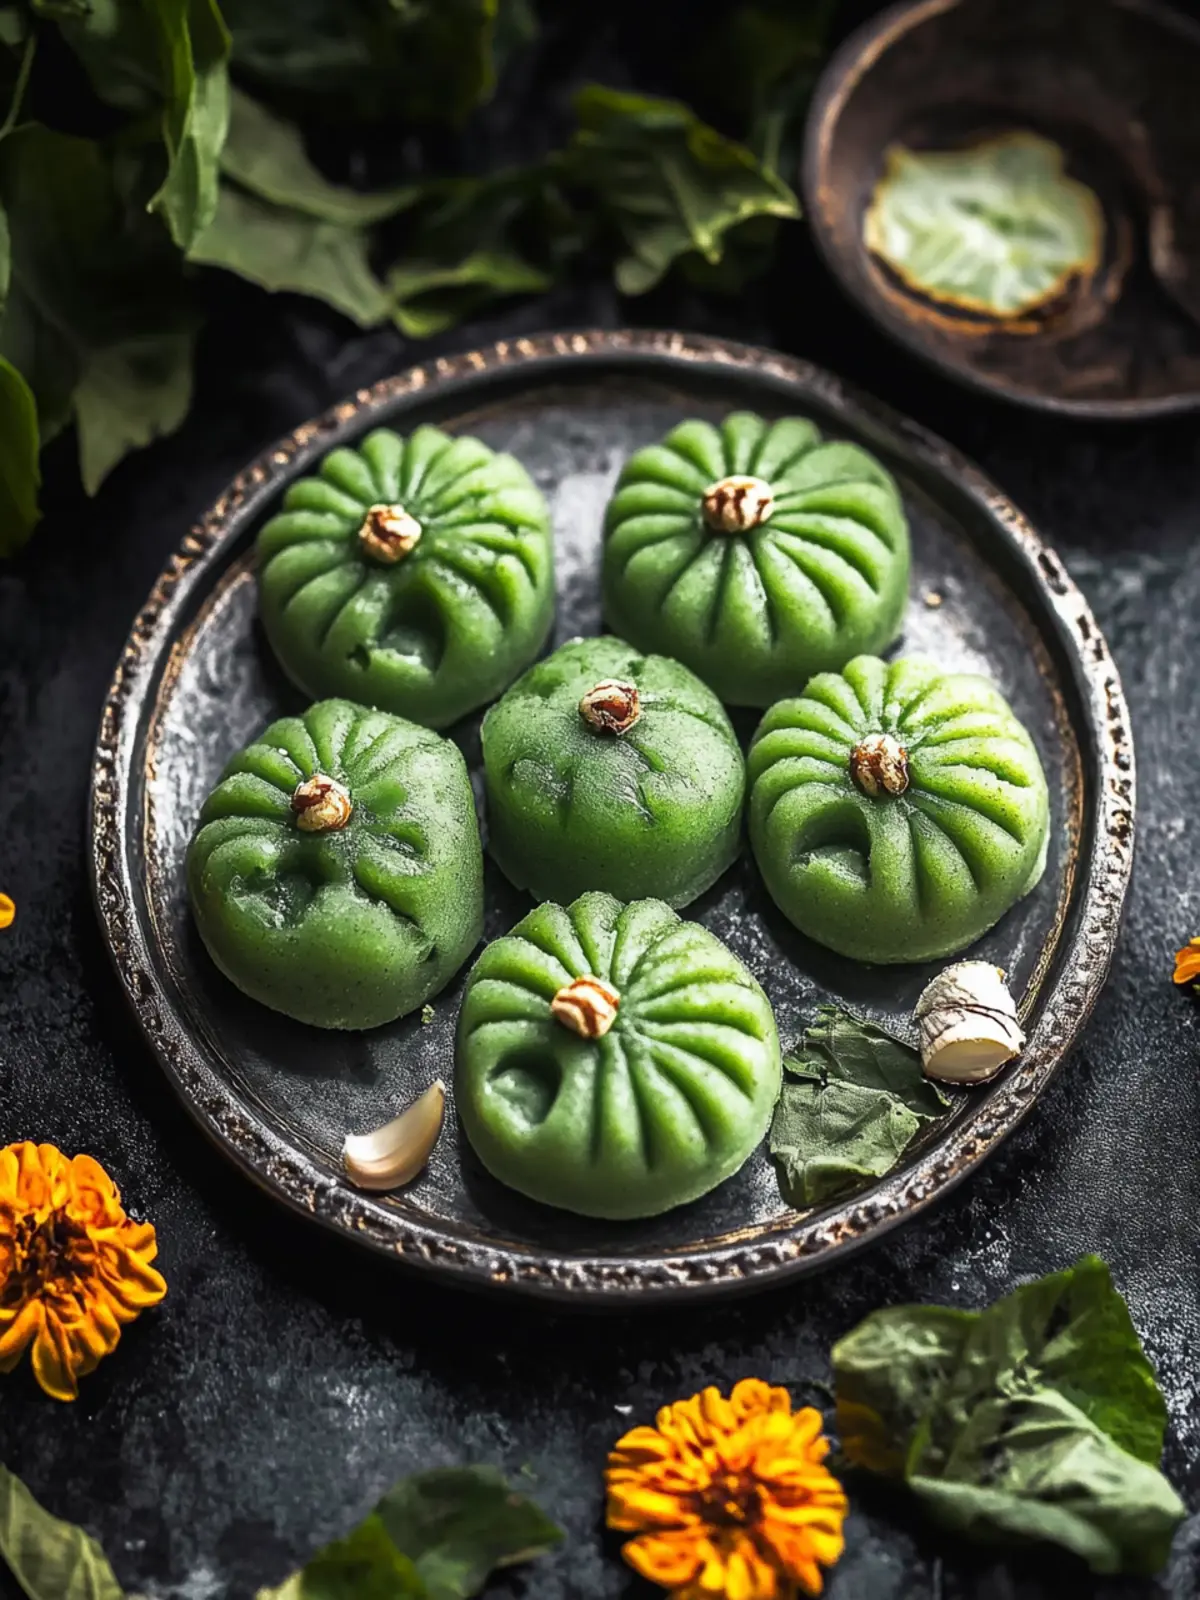
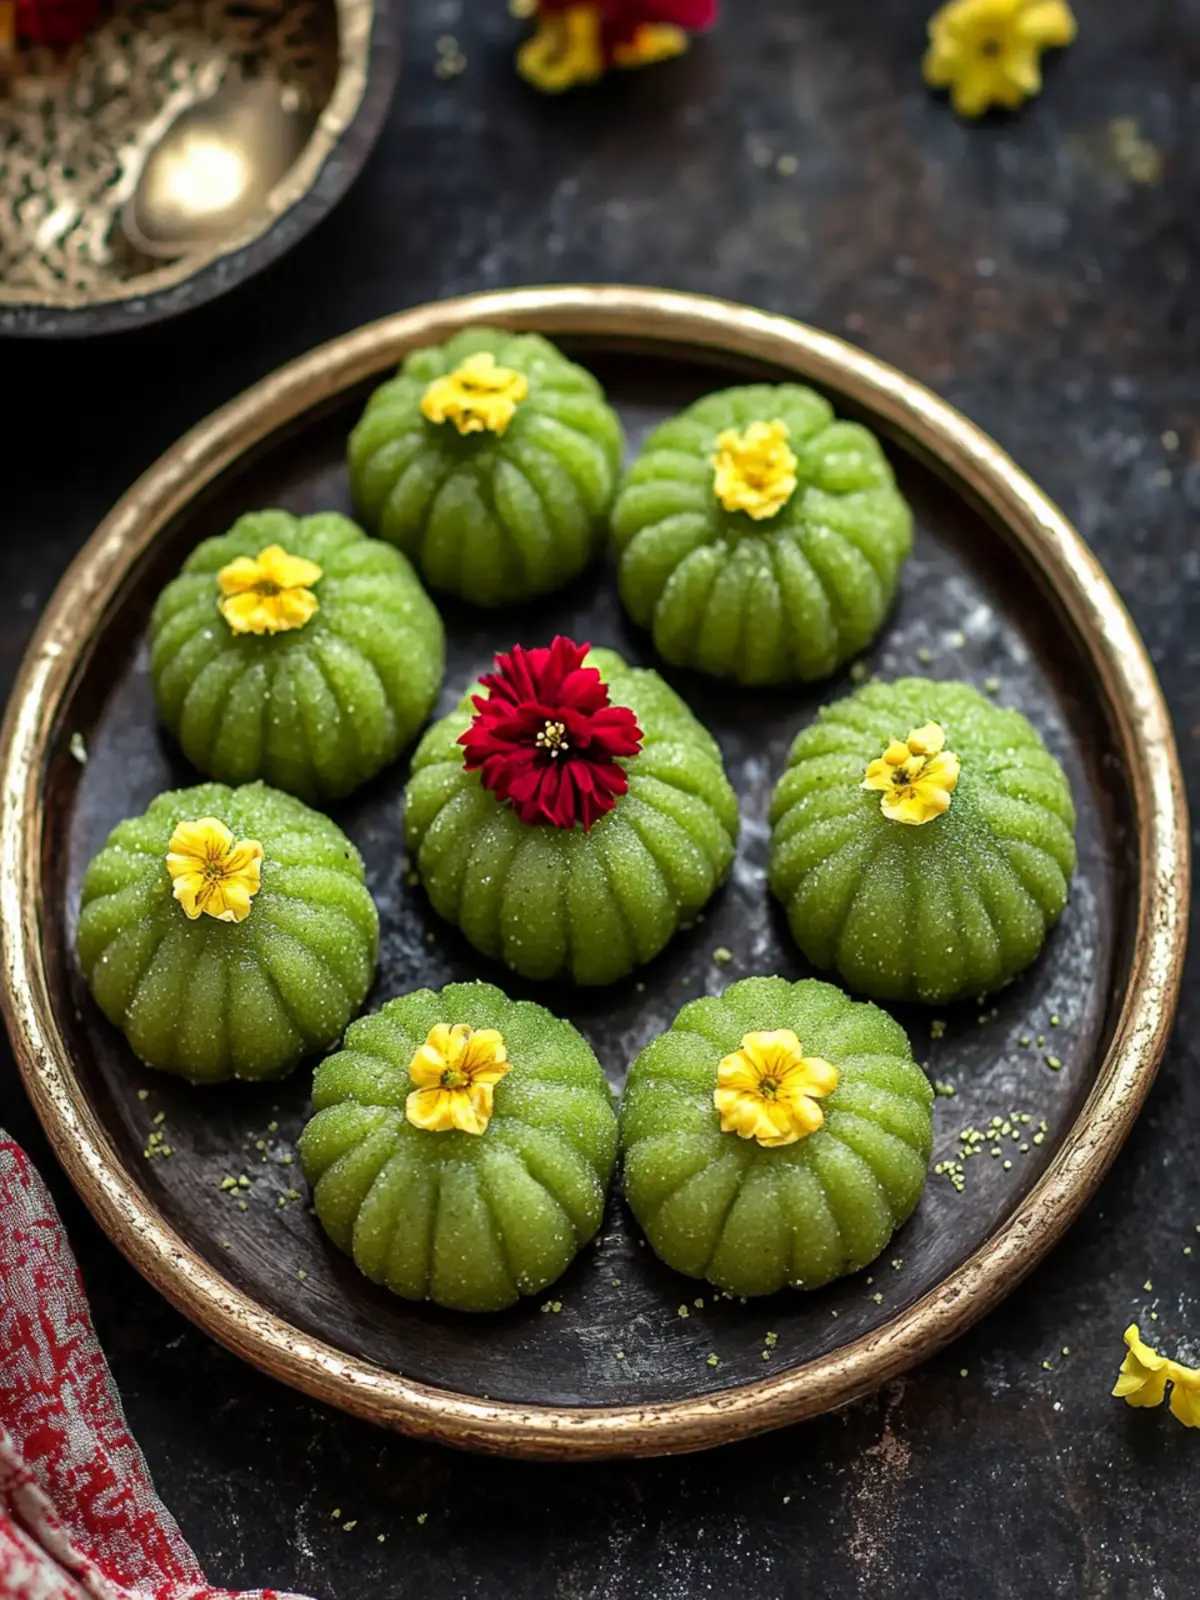
The first time I tasted Paan Peda, I was transported to a vibrant Indian festival, surrounded by colorful decorations and joyful laughter. The festive spirit was in the air, and I just had to recreate this delightful dessert at home. Paan Peda, with its unique blend of creamy mawa and aromatic paan leaves (betel leaves), offers a refreshing twist to traditional sweets. The vibrant green hue catches the eye, making it a stunning centerpiece for any occasion, especially Diwali!
What I love most about this recipe is its simplicity. With just a handful of ingredients, you can whip up a gourmet dessert that impresses guests and satisfies your sweet tooth. The unexpected herbal notes from the paan give this peda a unique flavor profile, lighting up your taste buds with a rich, sweet indulgence. So, whether you’re celebrating a festival or simply looking for a delightful treat to share, join me in crafting these easy-to-make Paan Pedas that will have everyone asking for seconds!
Why is Paan Peda a must-try dessert?
Uniquely Delicious: Paan Peda brings a twist to traditional Indian sweets, combining the creamy richness of mawa with aromatic betel leaves for an unforgettable flavor.
Quick & Easy: With just a few simple ingredients, you can create these delightful treats in no time—perfect for busy celebrations.
Festive Appeal: Its vibrant green color not only catches the eye but also adds a festive touch, making it an ideal choice for Diwali or any special occasion.
Crowd-Pleasing Treat: The refreshing taste is sure to impress friends and family, making it a hit at gatherings and events.
Versatile Options: Customize your pedas by adding gulkand for sweetness, rolling them in nuts for crunch, or even dipping in chocolate for an indulgent twist!
Experience the joy of homemade desserts with this Paan Peda recipe that will leave everyone asking for more!
Paan Peda Ingredients
• Discover the essential elements for making delightful Paan Peda!
For the Peda Base
- Mawa (Khoya) – Provides the creamy base for the peda; use store-bought or homemade for best results.
- Granulated White Sugar – Adds the perfect sweetness to balance the rich mawa; feel free to substitute with your favorite sweetener.
- Milk – Blends beautifully with paan leaves for a smooth mixture; opt for full-fat milk for a richer taste.
For the Flavor
- Paan Leaves (Betel Leaves) – Infuses a unique flavor into the sweet; choose larger leaves for a stronger taste.
- Rose Water – Enhances the floral aroma, complementing the paan flavor; you can substitute with rose essence if desired.
For Garnishing
- Mukhwas – An optional garnish that adds a delightful texture and flavor; sprinkle on top for a festive touch.
Dive into making Paan Peda, and relish the unique combination of flavors that will elevate your dessert experience!
How to Make Paan Peda
-
Blend Preparation: Start by blending the paan leaves, milk, and rose water together until smooth. This vibrant mixture is the heart of your Paan Peda, bringing that signature flavor!
-
Mawa Toasting: In a medium-sized pan, roast the mawa over medium heat for 1-2 minutes until it lightly toasts. This process enhances the milky flavor, setting the stage for sweet perfection.
-
Combine: Add the granulated sugar to the toasted mawa, stirring until fully dissolved. Next, incorporate the blended paan mixture and immediately lower the heat for gentle cooking.
-
Cook Mixture: Let this fragrant mixture simmer on low heat, stirring continuously for about 13 minutes. As it cooks, it will thicken and begin pulling away from the pan, resembling molten lava.
-
Cooling Phase: Once thickened, transfer the mixture to a greased plate or parchment paper. Allow it to cool until it’s manageable to handle, creating those lovely pedas.
-
Shaping: After cooling, shape the mixture into round balls—aim for about 10 pedas. Pop them in the refrigerator for 30 minutes to firm up for easier shaping.
-
Final Shaping & Garnish: If you’d like, use molds to shape your pedas into desired forms. Finish with a sprinkle of mukhwas for added flavor and appeal!
Optional: For a colorful twist, consider adding a drop of green food coloring.
Exact quantities are listed in the recipe card below.
Expert Tips for Paan Peda
-
Low Heat Cooking: Always cook the mixture on low heat and stir continuously to prevent burning. This ensures a creamy texture for your Paan Peda.
-
Check Consistency: If the mixture isn’t shaping well after cooling, return it to low heat for a few minutes to soften. This will help in forming perfect pedas.
-
Size Matters: Use larger paan leaves for a more robust flavor; smaller ones will require you to use more to achieve the desired taste in your Paan Peda.
-
Flavor Variations: Feel free to experiment with flavor! Adding gulkand or rolling in crushed nuts adds delightful twists to traditional Paan Peda.
-
Chill Before Shaping: Refrigerate the pedas for 30 minutes after shaping to enhance firmness; this makes sculpting even easier.
What to Serve with Paan Peda?
The perfect meal should always end on a sweet note, and Paan Peda beautifully complements a heartfelt gathering.
-
Chai (Masala Tea): The warmth and spice of masala chai elevate the refreshing notes in Paan Peda, creating a cozy pairing for your sweet treat.
-
Samosas: Combining crispy samosas with Paan Peda offers a delightful contrast in textures—crunchy and soft, savory and sweet, all in one meal.
-
Raita: A cooling yogurt raita balances the sweetness with creamy tanginess, refreshing your palate and enhancing the overall dining experience.
-
Fruit Salad: Light and fruity, a fresh fruit salad adds a burst of color and natural sweetness, making it a vibrant companion to the rich, creamy pedas.
-
Coconut Ladoo: Laid-back and flavorful, these truffle-like sweets further amplify the dessert table with another layer of sweetness and cultural flair.
-
Mango Lassi: This creamy, dreamy mango yogurt drink adds a tropical twist that contrasts beautifully with the herbal notes of Paan Peda, delighting your taste buds.
Pairing these delightful choices with Paan Peda creates a memorable meal that celebrates the richness of Indian traditions while embracing creativity and flavor!
How to Store and Freeze Paan Peda
-
Fridge: Keep your Paan Peda refrigerated in an airtight container for up to 3-5 days, preserving its delightful texture and flavor.
-
Freezer: For longer storage, freeze the pedas in a single layer, then transfer to a sealed bag or container for up to 3 months. Thaw in the fridge before serving.
-
Wrap Carefully: If placing the pedas in the fridge or freezer, wrap each one in plastic wrap to prevent them from drying out or absorbing odors.
-
Reheating Tips: Enjoy Paan Peda cold as is, or let them come to room temperature if frozen for a delightful treat straight from the freezer.
Make Ahead Options
These Paan Pedas are perfect for busy home cooks looking to save time without sacrificing flavor! You can prepare the filling (blended paan mixture with mawa) up to 24 hours in advance. Simply follow the blending and toasting steps, then refrigerate the mixture in an airtight container. This way, when you’re ready to make the pedas, all you need to do is heat the mixture and shape it into balls—just remember to allow for 30 minutes of refrigeration for easier shaping. To maintain quality, avoid adding the mukhwas until just before serving, ensuring maximum freshness and crunch. This make-ahead method allows you to serve delicious, homemade Paan Pedas with minimal last-minute effort!
Paan Peda Variations
Feel free to elevate your Paan Peda with these delightful twists and substitutions that will bring excitement to each bite!
-
Gulkand Stuffing: Add a spoonful of gulkand into the center of each peda for a sweet and floral surprise. This traditional rose petal jam complements the texture beautifully, offering bursts of flavor with every bite.
-
Nutty Coating: Roll your pedas in a mix of crushed pistachios or almonds for added crunch. The nuts not only enhance the taste but also add a beautiful textured finish, making each peda look even more inviting.
-
Chocolate Dip: Dip the formed pedas in melted white or dark chocolate for a decadent twist. This contrast of flavors creates a luxurious dessert that blends the rich sweetness of mawa with a chocolaty richness that’s simply irresistible.
-
Dairy-Free Option: Substitute mawa with coconut cream for a vegan version. This will lend a creamy texture while still infusing the rich flavor profile that Paan Peda is known for.
-
Spicy Kick: Add a pinch of ground cardamom or a dash of black pepper to the peda mixture for a subtle hint of warmth. This will deepen the flavor and create an exciting balance with the sweetness.
-
Fruit Infusion: Mix in pureed mango or any fruit you love for a fruity twist. The vibrancy of the fruit adds a unique flavor and stunning color that will have everyone reaching for another peda.
-
Herb-Infused Milk: Soak paan leaves in the milk overnight before blending for an even more pronounced flavor of betel leaves in your pedas. This extra step enhances the authentic taste of classic Indian sweets.
Embrace your creativity and make this Paan Peda recipe uniquely yours, one delicious variation at a time!
Paan Peda Recipe FAQs
What type of paan leaves should I use for the best flavor?
For the most robust flavor, opt for larger paan leaves (betel leaves). They tend to have a stronger, more aromatic taste that truly enhances the sweetness of the Paan Peda. If you can only find smaller leaves, simply increase the quantity to achieve a similar flavor intensity.
How long can I store Paan Peda in the refrigerator?
Keep your delightful Paan Peda in an airtight container in the refrigerator for optimal freshness. They can be enjoyed for up to 3-5 days. Just be sure to savor them before they lose their delightful texture!
Can I freeze Paan Peda, and how should I do it?
Absolutely! To freeze your Paan Peda, first place them in a single layer on a baking sheet and freeze until solid. Then transfer them to a sealed bag or container, where they can remain frozen for up to 3 months. When you’re ready to enjoy, simply thaw them in the fridge overnight and relish their deliciousness!
Why is my Paan Peda mixture too sticky to shape?
If you find the mixture too sticky after cooling, don’t fret! Return it to low heat for a few minutes, stirring continuously until it softens just enough to be manageable. This will allow you to shape the pedas easily without any hassle.
Are there any dietary considerations when making Paan Peda?
Yes! Paan Peda is a wonderful dessert that caters to various dietary needs. It is naturally gluten-free, egg-free, and nut-free, making it a perfect treat for those with allergies. Always ensure to check the ingredients used, particularly for any sweeteners or flavorings that may not suit certain diets.
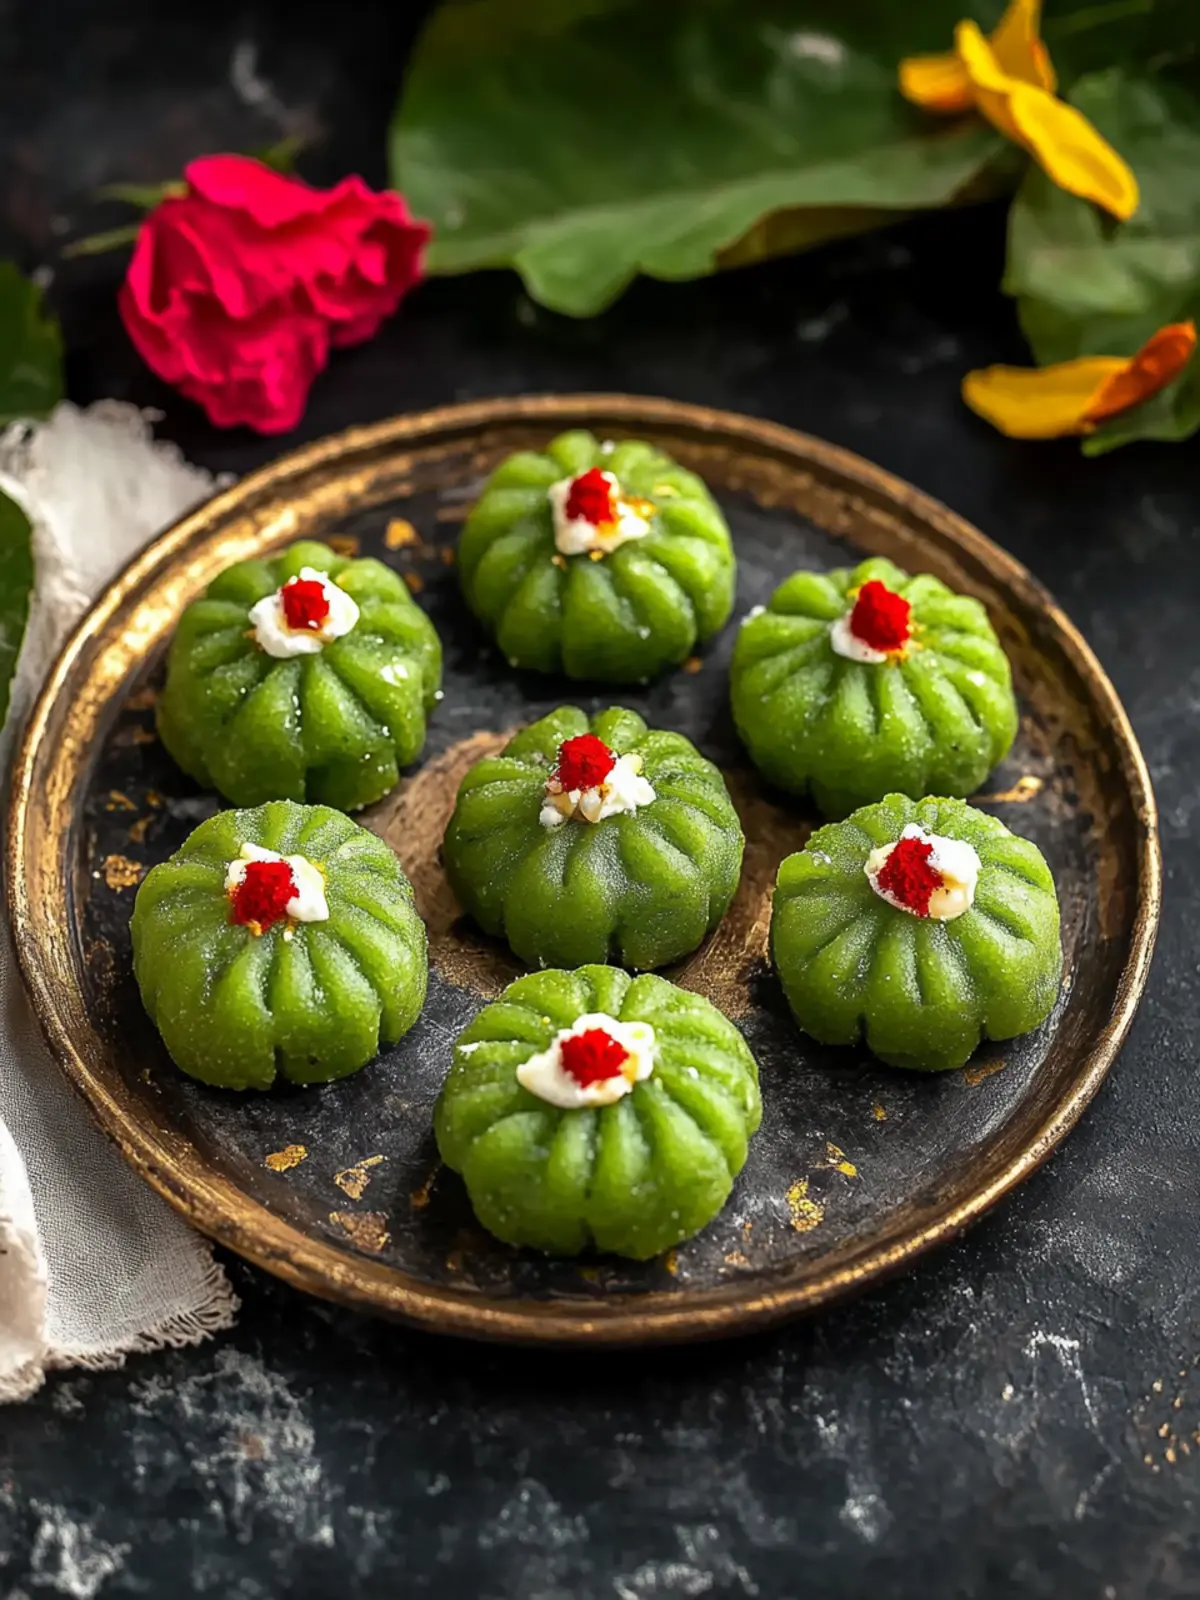
Delicious Paan Peda: A Festive Twist on Indian Sweets
Ingredients
Equipment
Method
- Blend the paan leaves, milk, and rose water together until smooth.
- In a medium-sized pan, roast the mawa over medium heat for 1-2 minutes until lightly toasted.
- Add the granulated sugar to the toasted mawa, stirring until fully dissolved.
- Incorporate the blended paan mixture and lower the heat for gentle cooking.
- Let the mixture simmer on low heat, stirring continuously for about 13 minutes.
- Transfer the mixture to a greased plate and let it cool until manageable.
- Shape the mixture into round balls, refrigerate for 30 minutes.
- Use molds for shaping pedas and finish with a sprinkle of mukhwas.

