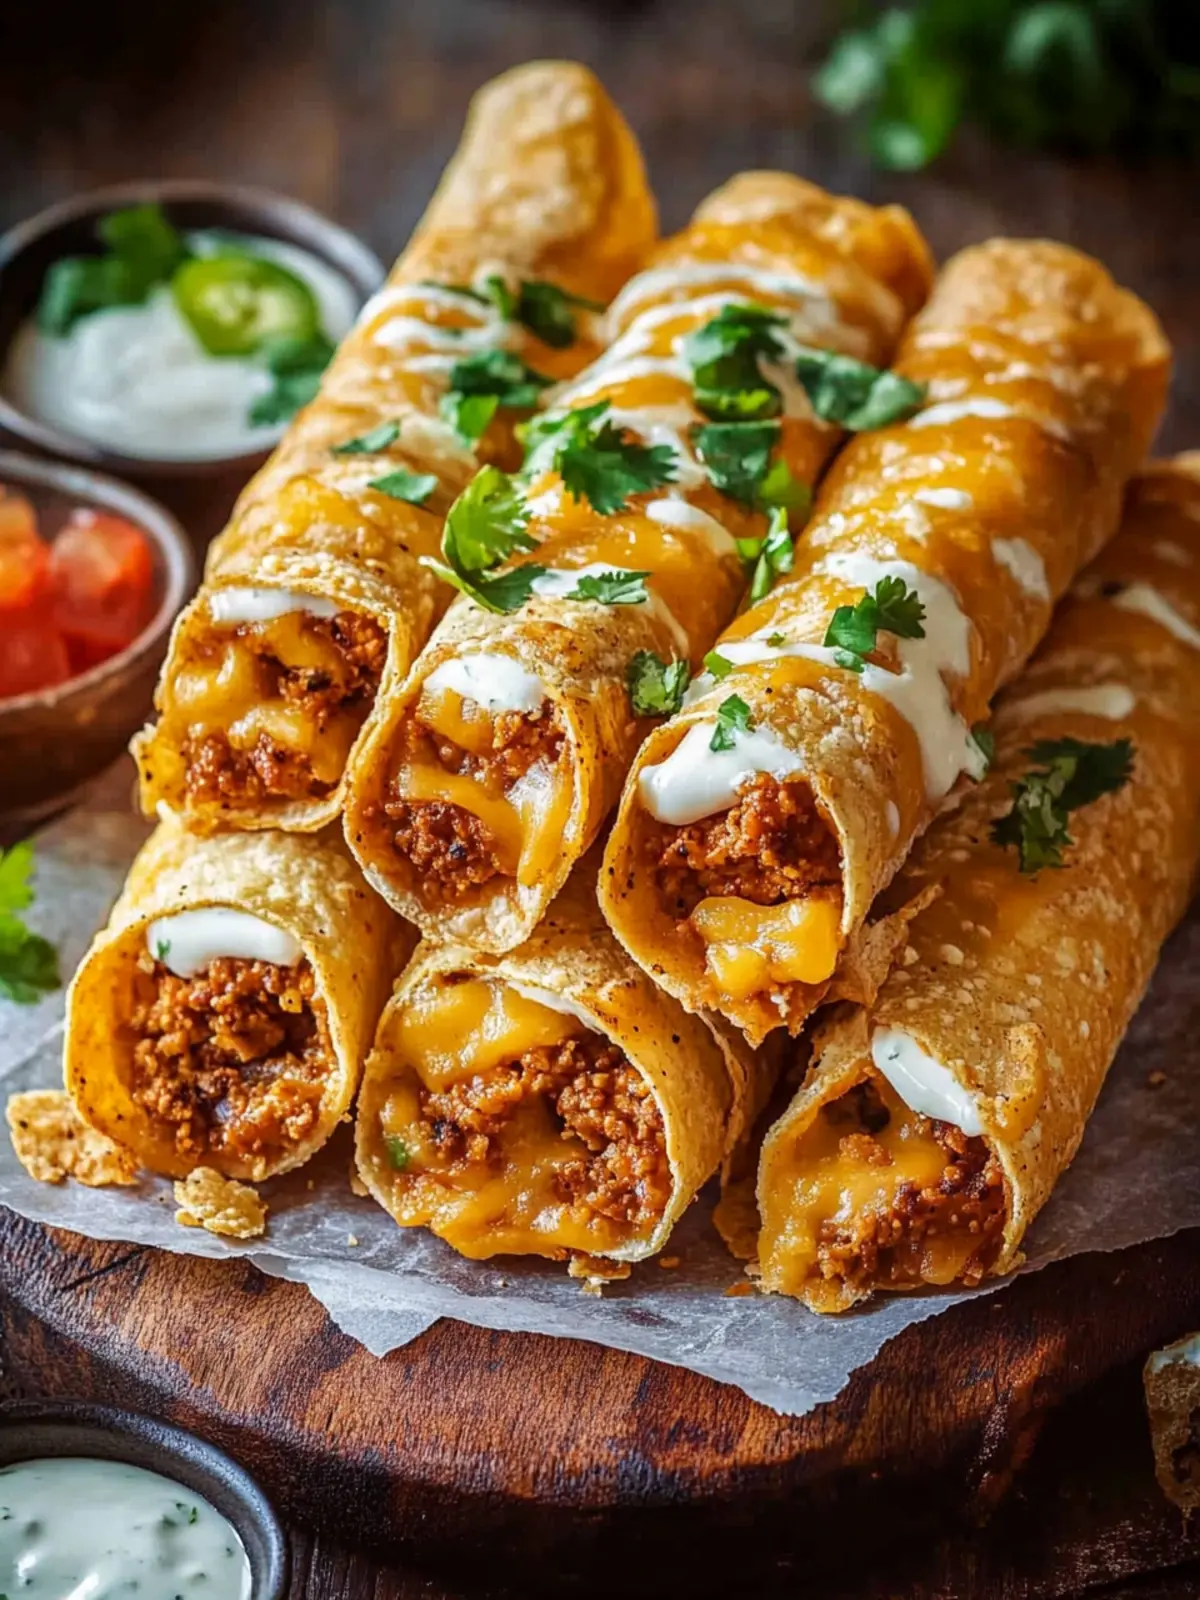
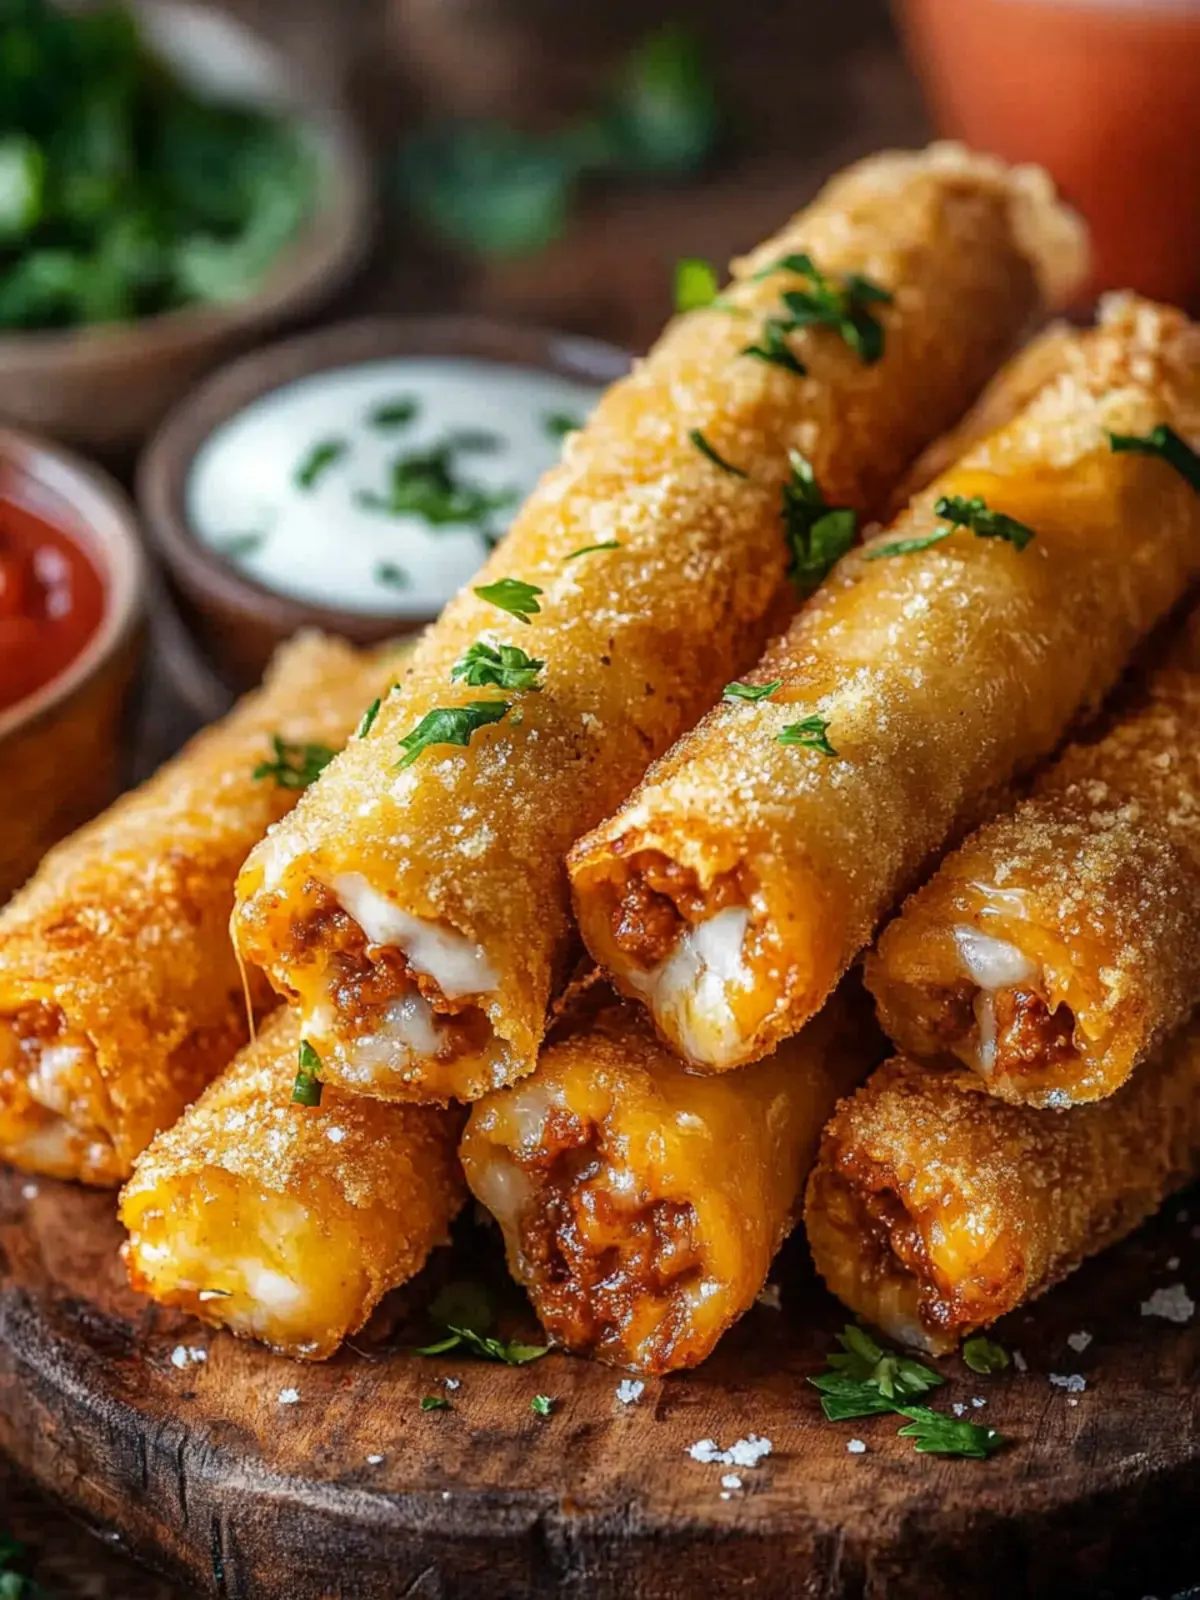
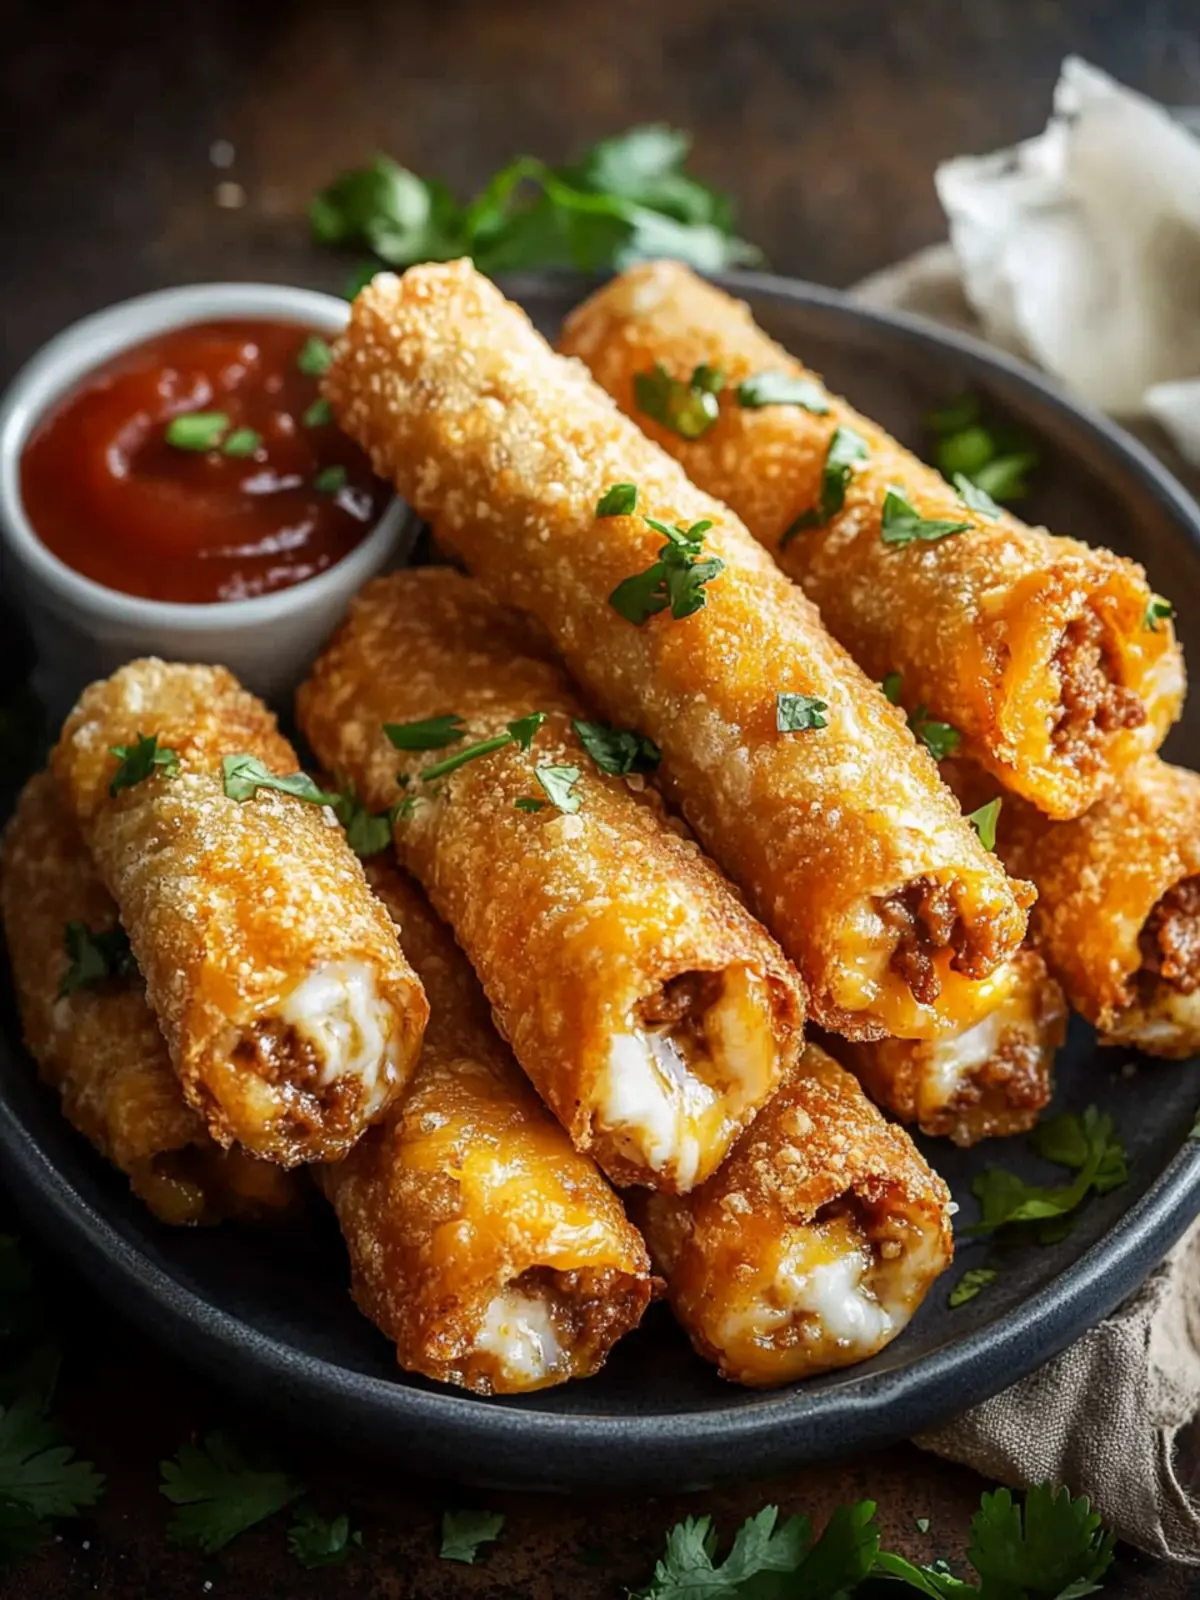
Imagine the tantalizing aroma of baked bread mingling with the vibrant spices of taco seasoning – it’s a fusion that instantly brings a warm sense of comfort, doesn’t it? When friends gather for a game night or family movie marathon, nothing beats the joy of sharing something deliciously memorable. That’s where my Cheesy Taco Sticks come in. These delightful finger foods combine crispy, golden-brown pastry with ooey-gooey melted cheese and savory taco-seasoned beef.
Perfect for busy weeknights or festive gatherings, they’re simple to whip up yet boast enough flair to impress everyone at the table. What’s more, the beauty of this recipe lies in its versatility – you can easily switch up the fillings to match your personal taste or dietary needs. Let’s dive into this irresistible recipe that takes comfort food to a whole new level!
Why are Cheesy Taco Sticks the perfect snack?
Irresistible Flavor: Each bite delivers a burst of cheesy goodness combined with zesty taco spices that everyone will love.
Easy to Make: This recipe is straightforward, perfect for beginner cooks and busy weeknights alike, allowing you to whip up a crowd-pleaser in no time.
Versatile Fillings: Customize your cheesy taco sticks with various proteins and spices, making them suitable for every palate – including vegetarian options!
Game Night Essential: The perfect finger food that pairs excellently with dips like salsa or guacamole, ensuring a fun and delicious gathering.
Make-Ahead Marvel: Prepare them in advance and freeze the unbaked sticks, offering convenience for impromptu gatherings or busy evenings.
Cheesy Taco Sticks Ingredients
For the Filling
• Ground Beef/Turkey/Chicken – The main source of protein; swap with seasoned beans or plant-based crumbles for a vegetarian option.
• Taco Seasoning – Adds zesty flavor; opt for store-bought or your homemade blend to suit your spice preferences.
For the Dough
• Refrigerated Pizza Dough/Crescent Roll Dough – Serves as the base for the sticks; feel free to use homemade dough for a custom touch.
For the Cheese
• Mozzarella Cheese – This provides that classic gooey pull; mix in cheddar for added richness.
• Cheddar Cheese (optional) – Delivers a sharp flavor boost; can be omitted if a milder taste is preferred.
For Finishing Touches
• Melted Butter – Enhances the crust’s flavor and color; blend with garlic powder or ranch seasoning for an extra kick.
• Garlic Powder (optional) – Adds depth; adjust to your taste preferences.
Optional Add-ins
• Jalapeños, Onions, Black Beans, Corn, or Olives – Great for adding extra texture and taste, these can elevate your cheesy taco sticks.
To Serve
• Dips – Pair with salsa, guacamole, sour cream, or ranch for an optimal cheesy taco sticks experience.
These Cheesy Taco Sticks are not only a play on delectable flavors but also a chance to explore creativity in the kitchen! Enjoy crafting your perfect taco-inspired treat!
How to Make Cheesy Taco Sticks
-
Cook the Filling: In a skillet over medium heat, brown your choice of ground meat until fully cooked. Drain any excess fat, then mix in taco seasoning along with a splash of water, cooking until it’s saucy. Let it cool slightly before using.
-
Prepare the Dough: Roll out your refrigerated pizza or crescent roll dough on a lightly floured surface. Cut the dough into rectangles or strips that are approximately 4 inches wide, depending on your desired stick size.
-
Assemble the Sticks: Take a spoonful of the cooled meat mixture and place it onto each piece of dough. Sprinkle with mozzarella cheese and any optional extras you like (jalapeños, onions, etc.) before folding the dough over and sealing the edges tightly.
-
Bake: Preheat your oven to 375°F (190°C). Place the assembled sticks seam-side down on a parchment-lined baking sheet. Brush the tops with melted butter and then bake for about 12–15 minutes or until they are golden brown and puffy.
-
Serve: Allow the cheesy taco sticks to cool for a couple of minutes. Serve alongside your favorite dipping sauces, like salsa or guacamole, for an unbeatable snack experience!
Optional: Sprinkle some fresh cilantro or a dash of lime juice for an extra burst of flavor!
Exact quantities are listed in the recipe card below.
Make Ahead Options
Cheesy Taco Sticks are a fantastic choice for meal prep, saving you valuable time on busy weeknights! You can assemble the sticks up to 24 hours in advance; just place them in the refrigerator before baking. For even longer storage, freeze the unbaked sticks for up to 2 months. To prevent soggy dough, make sure your filling has cooled completely before wrapping it in the dough. When you’re ready to enjoy your cheesy taco sticks, simply bake them straight from frozen, adding an extra 3-5 minutes to the cooking time. This way, you’ll have a delicious snack with fresh-out-of-the-oven taste and texture!
Cheesy Taco Sticks Variations
Customize your cheesy taco sticks with these delightful twists that celebrate flavor and creativity!
-
Vegetarian Delight: Swap the ground meat with seasoned black beans or lentils for a hearty plant-based option. Packed with protein and flavor, it’s sure to please vegetarians and meat-lovers alike.
-
Spicy Kick: Use pepper jack cheese instead of mozzarella for an extra zing. Add diced jalapeños to the filling for a delightful heat that enhances the taco experience.
-
Smoky Flavor: Incorporate smoked paprika or chipotle seasoning into the taco mix for a deeper, smoky flavor. This twist elevates your cheesy taco sticks to a whole new level.
-
Cheesy Trio: Combine mozzarella, cheddar, and cream cheese for a deliciously gooey fill. The cream cheese adds luscious creaminess that pairs beautifully with the savory filling.
-
Savory Veggies: Mix in finely chopped bell peppers, onions, or corn for added freshness and crunch. These veggies brighten the dish, making each bite even more satisfying.
-
Herb Infusion: Add fresh cilantro or oregano to your filling for a burst of herbal flavor. This lightens the dish while enhancing the taco essence.
-
Puff Pastry Alternative: For a flakier texture, use puff pastry instead of pizza dough. This switch makes each bite more indulgent and adds a gourmet touch to your snack.
-
Sweet Twist: Experiment with a hint of sweetness by drizzling a touch of honey or maple syrup over the filling before sealing. This surprising combination brings out a unique balance of flavors.
Feel free to mix and match these variations to create your own perfect cheesy taco sticks!
Expert Tips for Cheesy Taco Sticks
-
Cool the Filling: Allow the meat mixture to cool before stuffing; this prevents the dough from getting soggy and keeps your cheesy taco sticks crisp.
-
Seal with Care: Ensure that the edges of the dough are tightly sealed to avoid leaking filling during baking, which can lead to uneven cooking.
-
Double Up: Consider making a double batch of cheesy taco sticks. You can freeze the unbaked sticks for quick snacks on busy days; just bake from frozen!
-
Reheating Tips: For the best texture later, reheat your cheesy taco sticks in the oven or air fryer to maintain their crispness—microwaving can make them chewy.
-
Customize Fillings: Don’t hesitate to mix up your ingredients! Add different proteins or spices to suit your family’s taste preferences and make these cheesy taco sticks uniquely yours.
-
Dipping Sauce Delight: Serve with a variety of dips like salsa, guacamole, or sour cream to elevate the flavor and complement the cheesy goodness.
How to Store and Freeze Cheesy Taco Sticks
Room Temperature: Cheesy taco sticks can be kept at room temperature for up to 2 hours. Be sure to cover them loosely to maintain some moisture while preventing sogginess.
Fridge: Store leftover cheesy taco sticks in an airtight container in the fridge for up to 3 days. Reheat them in the oven for the best texture.
Freezer: Unbaked cheesy taco sticks can be frozen for up to 2 months. Arrange them on a baking sheet to freeze individually before transferring to a freezer bag for easy storage.
Reheating: For a crispy finish, reheat frozen cheesy taco sticks in the oven at 375°F (190°C) for 15–20 minutes, adding a few extra minutes if they were previously frozen.
What to Serve with Cheesy Taco Sticks?
When serving up a plate of cheesy taco sticks, it’s an irresistible opportunity to create a delightful feast that captivates all the senses.
-
Fresh Guacamole:
This creamy, zesty dip enhances the flavors of the cheesy taco sticks, adding a bright, refreshing element that’s hard to resist. -
Spicy Salsa:
The tangy kick of a good salsa perfectly contrasts the rich cheese, adding layers of flavor while keeping your snack exciting. -
Cool Sour Cream:
A dollop of sour cream adds a creamy, cooling factor that balances the spices in each cheesy taco stick, making every bite blissful. -
Mexican Street Corn Salad:
With its sweet corn and lime accents, this vibrant salad provides freshness and complements the savory flavors of the cheesy taco sticks beautifully. -
Crunchy Veggie Platter:
Bright, crisp veggies like bell peppers and carrots offer a refreshing crunch alongside the rich flavors, making for a well-rounded snack table. -
Chilled Lemonade or Limeade:
A refreshing, tangy drink brings a thirst-quenching element to your meal, enhancing the fun vibe of a game night or casual gathering.
Embrace these pairings for a cozy, satisfying feast that will have everyone coming back for more!
Cheesy Taco Sticks Recipe FAQs
What type of meat works best for the filling?
Absolutely! Ground beef is a classic choice, but you can also use turkey or chicken to suit your preference. For a meatless option, opt for seasoned black beans or plant-based crumbles, which work wonderfully with the taco seasoning.
How should I store leftover Cheesy Taco Sticks?
After enjoying your cheesy taco sticks, cool them down and place them in an airtight container. They can be stored in the refrigerator for up to 3 days. When you’re ready to enjoy them again, I recommend reheating them in the oven at 375°F (190°C) for about 10 minutes to regain that delightful crispiness.
Can I freeze Cheesy Taco Sticks? If so, how?
Yes, you can! To freeze unbaked cheesy taco sticks, assemble them as per the recipe instructions, but do not bake them. Instead, place them on a parchment-lined baking sheet in a single layer and freeze them until solid, typically about 2 hours. Once they’re frozen, transfer them to a freezer bag or container. They’ll keep well for up to 2 months. To bake, just pop them in the oven straight from the freezer, adding an extra 3–5 minutes to the cooking time.
How can I prevent my Cheesy Taco Sticks from being soggy?
This is a common concern, but a few simple tips can help! First, allow your meat mixture to cool before stuffing it into the dough; this step is crucial as it prevents moisture transfer. Second, ensure that the edges of the dough are well sealed to keep the filling intact during baking, which helps maintain that nice crispy exterior.
Can I make these Cheesy Taco Sticks ahead of time?
Most definitely! You can assemble the sticks a day in advance and keep them in the refrigerator until you’re ready to bake. Alternatively, freezing unbaked cheesy taco sticks for later enjoyment is a fantastic plan. Just remember to adjust the baking time if you’re cooking them from frozen!
Are there any specific dietary considerations for Cheesy Taco Sticks?
If you’re cooking for someone with allergies, you might want to be cautious about using different cheeses or seasonings, as dairy is present in mozzarella and cheddar. For gluten-free options, look for gluten-free refrigerated dough alternatives, and use gluten-free taco seasoning. Adjust the fillings to suit any dietary restrictions, making these taco sticks suitable for various diets!
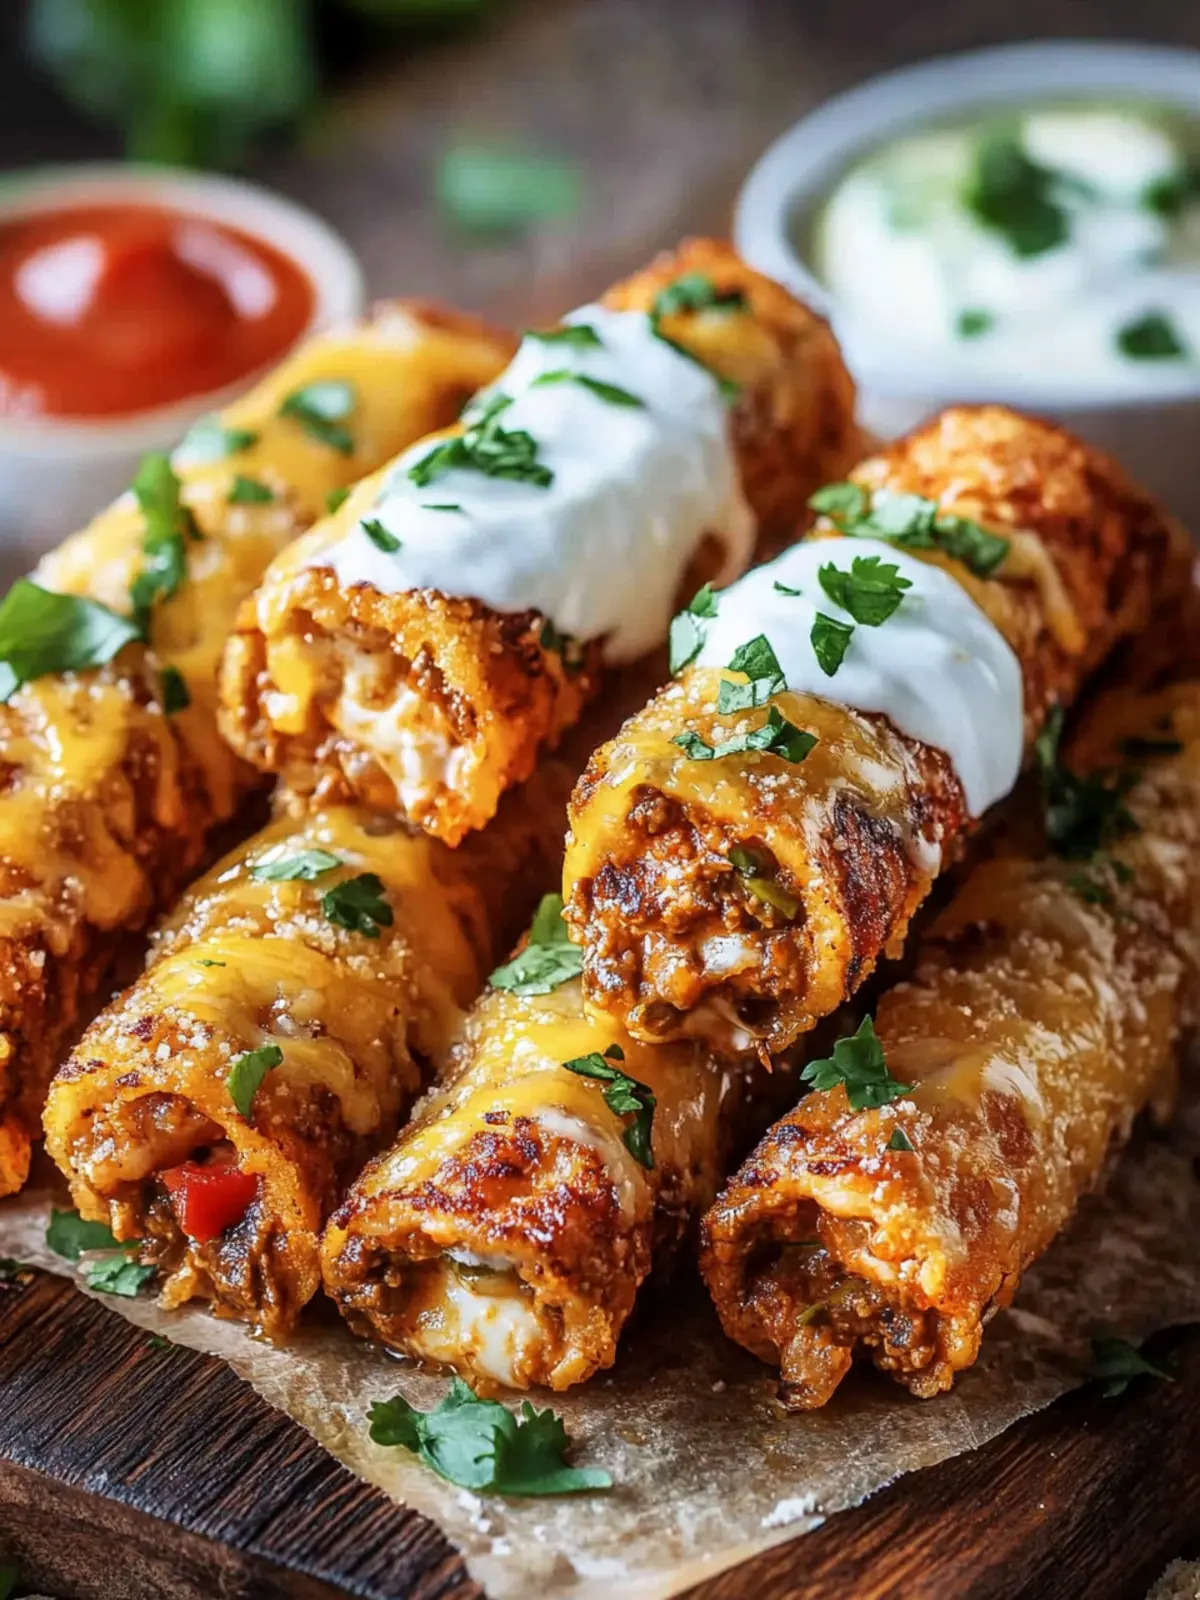
Cheesy Taco Sticks for the Ultimate Game Night Delight
Ingredients
Equipment
Method
- Cook the Filling: In a skillet over medium heat, brown your choice of ground meat until fully cooked. Drain any excess fat, then mix in taco seasoning along with a splash of water, cooking until it’s saucy. Let it cool slightly before using.
- Prepare the Dough: Roll out your refrigerated pizza or crescent roll dough on a lightly floured surface. Cut the dough into rectangles or strips that are approximately 4 inches wide.
- Assemble the Sticks: Take a spoonful of the cooled meat mixture and place it onto each piece of dough. Sprinkle with mozzarella cheese and any optional extras before folding the dough over and sealing the edges tightly.
- Bake: Preheat your oven to 375°F (190°C). Place the assembled sticks seam-side down on a parchment-lined baking sheet. Brush the tops with melted butter and bake for about 12–15 minutes or until golden brown and puffy.
- Serve: Allow the cheesy taco sticks to cool for a couple of minutes. Serve alongside your favorite dipping sauces for an unbeatable snack experience!

