
As summer approaches and the sun begins to shine a little brighter, my thoughts drift to the joyous gatherings that fill our calendars. There’s nothing quite like a casual barbecue or an exuberant Fourth of July celebration to get everyone buzzing with excitement. This year, I wanted to bring something special to the table—something that captures the essence of that festive spirit without keeping me tied to the kitchen all day.
Enter my No-Bake Red, White, and Blue Candy! The moment I first combined layers of smooth semi-sweet and creamy white chocolate, topped with crunchy cookies and colorful candies, I knew I had stumbled upon a vibrant centerpiece for my holiday festivities. Not only does it take mere minutes to whip up, but its eye-catching layers promise smiles all around. Plus, you can effortlessly customize it for any occasion! Join me as I guide you through this delightful, easy-to-make treat that’s sure to shine at your next gathering—because every celebration deserves a bit of sweetness!
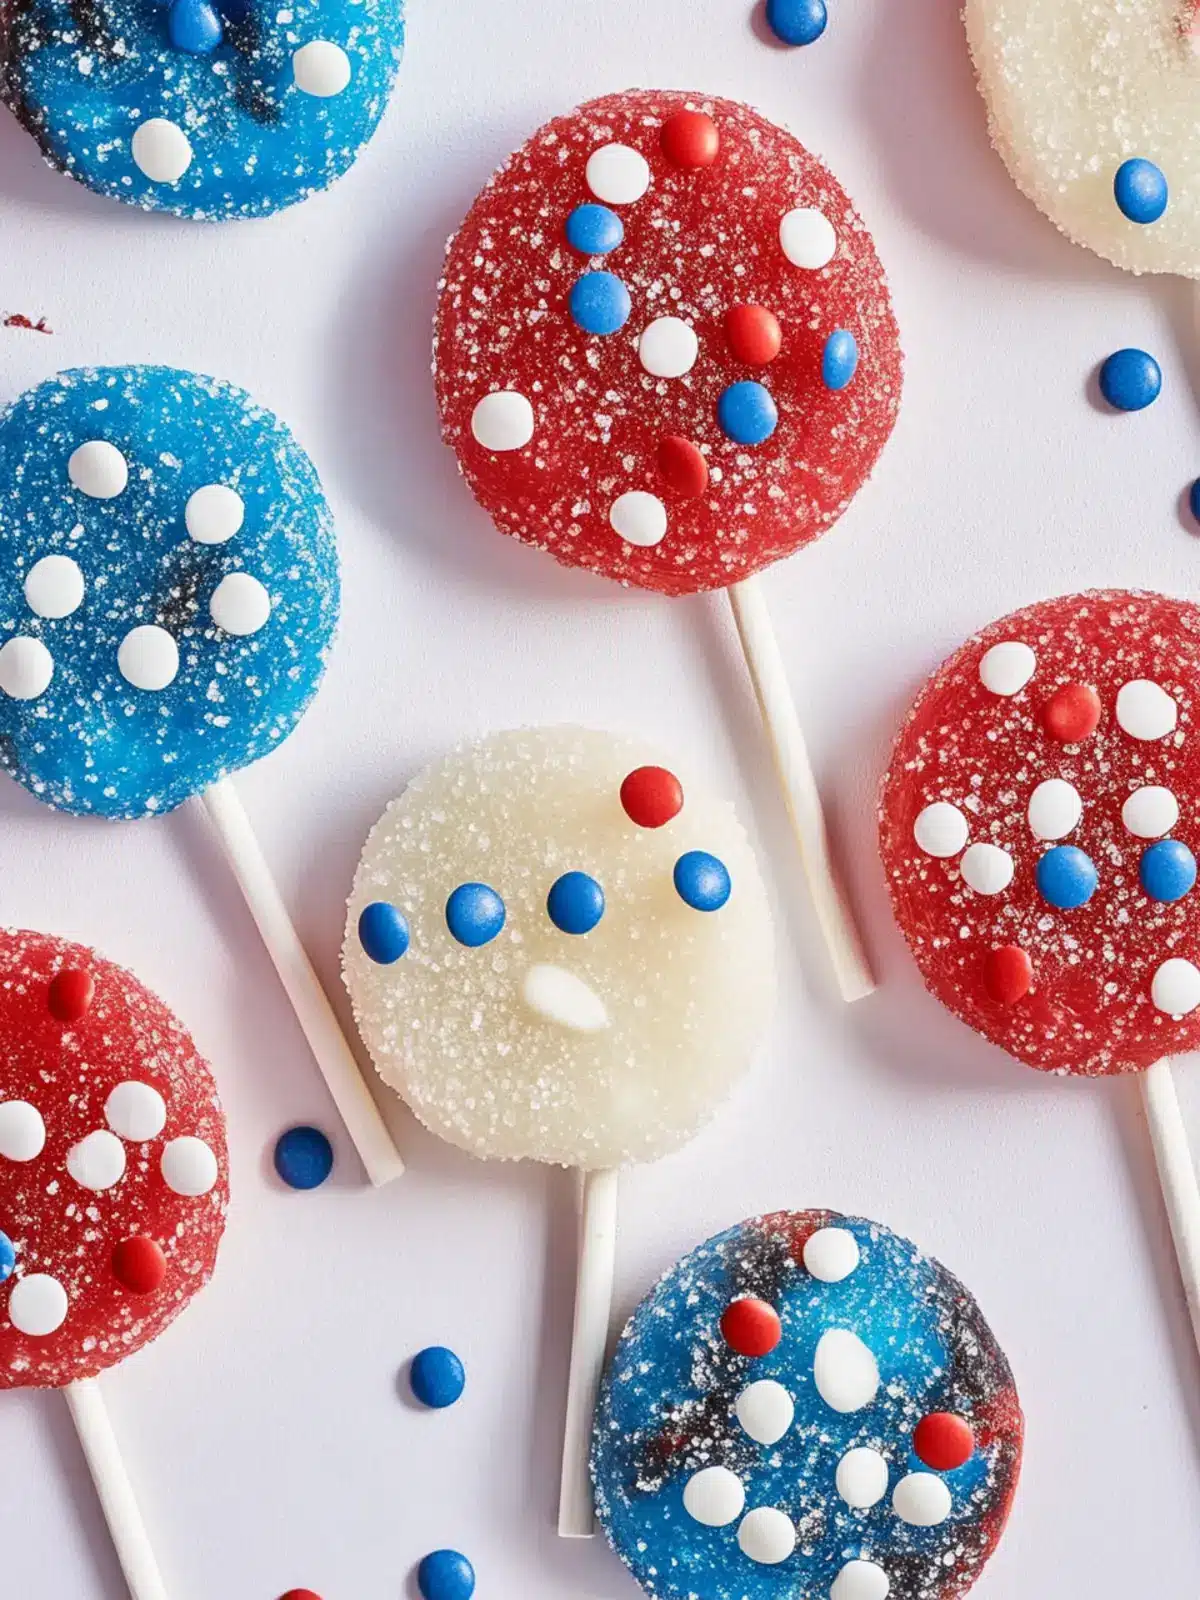
Why is Red, White, and Blue Candy so special?
Effortless Delight: No-bake means you can whip this up in no time, leaving you free to enjoy the festivities.
Visually Stunning: The vibrant colors not only look fantastic but also make it a show-stopping dessert on any table.
Customizable Joy: Easily swap ingredients or colors for different occasions, making it versatile for birthdays or themed parties.
Crowd-Pleaser: Perfect for gatherings, this candy bark appeals to both kids and adults, ensuring everyone has a sweet treat to enjoy.
Simple Ingredients: With just a handful of pantry staples, creating this festive candy is as easy as it is delicious!
Red, White, and Blue Candy Ingredients
For the Chocolate Layers
• Semi-Sweet Chocolate – Provides primary sweetness and rich chocolate flavor. Substitution Note: Use a combination of milk and semi-sweet chocolate for added creaminess.
• White Chocolate – Adds sweetness and creaminess; contrasts beautifully with dark chocolate. Substitution Note: Avoid candy melts for a smoother finish; choose quality white chocolate chips or bars.
For the Crunchy Toppings
• M&M’s – Introduce a fun crunch and festive color. Substitution Note: Any colored chocolate candies can be used for theme variety, such as peanut butter M&M’s.
• Oreos – Contribute delightful texture with their crunch and added sweetness. Substitution Note: Other cookies or chocolate snacks can be used instead of Oreos.
• Sprinkles – Enhance visual appeal and festive theme; customizable based on the occasion.
How to Make Red, White, and Blue Candy
-
Line the Baking Sheet: Begin by lining a 10×15 baking sheet with parchment paper, ensuring it fits snugly. This will help to easily lift out your candy bark once it’s set.
-
Melt Semi-Sweet Chocolate: In a heat-safe bowl, melt semi-sweet chocolate over simmering water. Stir gently until smooth, then spread it evenly onto the prepared baking sheet. Chill in the fridge for about 10 minutes until slightly firm.
-
Add the White Chocolate Layer: Melt the white chocolate in the same way and spread it over the semi-sweet layer. Before it cools, sprinkle on M&Ms, chopped Oreos, and a generous amount of colorful sprinkles for that festive touch.
-
Chill Until Set: Place the baking sheet back in the fridge and allow the candy to chill until fully set, approximately 30 minutes. This will ensure your layers hold up beautifully when served.
-
Cut or Break into Pieces: Once set, remove from the fridge and either cut into squares or break into rustic pieces with your hands. Both methods add a delightful homemade touch!
Optional: Drizzle with additional melted chocolate for an extra sweet finish.
Exact quantities are listed in the recipe card below.
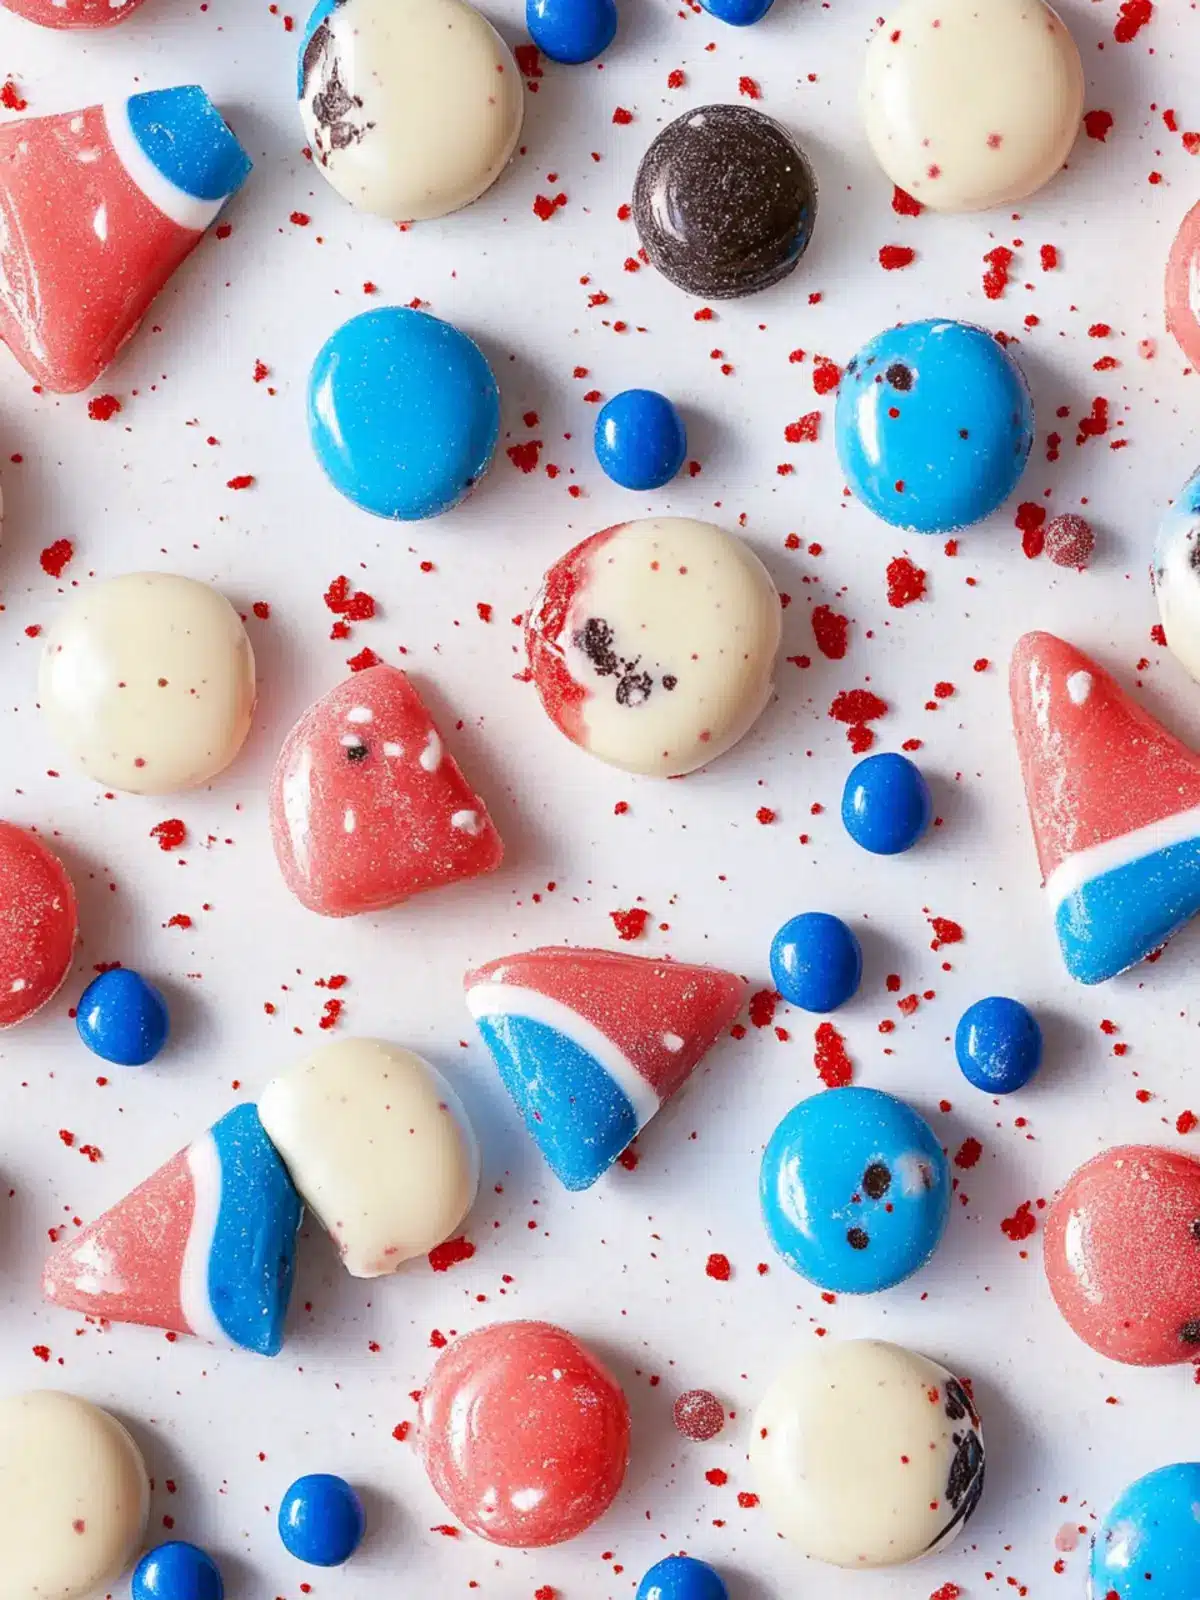
Red, White, and Blue Candy Variations
Feel free to let your creative side shine and customize this recipe to suit your taste preferences!
-
Dairy-Free: Substitute semi-sweet and white chocolate with dairy-free alternatives to make a delightful treat for those with lactose intolerance.
-
Nutty Crunch: Incorporate chopped nuts like pecans or almonds for an extra layer of crunch and flavor, adding a delightful twist to your bark.
-
Fruitful Burst: Mix in dried fruits such as cranberries or blueberries for a chewy texture that complements the sweetness of the chocolate and candy layers.
Dried fruits not only boost flavor but also bring in a fresh element that expands your dessert’s profile. -
S’mores Style: Add crushed graham crackers along with your toppings for a nostalgic campfire vibe. This delicious combination transforms your candy into a s’mores-inspired delight.
-
Heat It Up: Sprinkle some chili powder or crushed red pepper flakes over the chocolate before it sets for a surprising kick. This playful twist will surely excite adventurous taste buds!
-
Flavored Chocolates: Use flavored chocolates like orange or mint to elevate your bark’s flavor profile, giving it a refreshing or zesty nuance that can surprise and delight.
-
Layered Colors: Change the color theme by using seasonal candies or chocolates. Orange and black for Halloween or pastels for Easter offer playful adaptations for any gathering.
-
Cookie Varieties: Instead of Oreos, try using different flavored cookies like Nutter Butter or Ginger Snaps for unique flavors and textures that keep everyone guessing and impressed.
What to Serve with Red, White, and Blue Candy?
As you prepare your festive Red, White, and Blue Candy, consider these delightful pairings that will elevate your celebration.
-
Refreshing Fruit Salad: A medley of seasonal fruits adds brightness, contrasting beautifully with the rich chocolate flavors of your candy. It’s a light option that celebrates summer freshness!
-
Creamy Vanilla Ice Cream: A scoop of ice cream balances the sweetness of the candy, providing a creamy texture that complements the crispy and crunchy elements.
-
Sparkling Lemonade: This zesty drink offers a fizzy, tart contrast to the sweetness of your candy, making it a perfect refreshing option for hot days.
-
Chocolate Dipped Pretzels: The sweet and salty combination works especially well with your candy, providing a crunchy contrast that adds layers of flavor.
-
Homemade Whipped Cream: Fluffy and light, it can be dolloped on top of the candy bark or served on the side, giving an airy touch to each bite.
-
Patriotic Cupcakes: Decorate these with red and blue frosting to mirror your candy. They’re sure to delight both kids and adults at your gathering.
-
Berry Trifle: Layers of sponge cake, cream, and berries create a stunning dessert that echoes the colors of the candy, creating a visually appealing and deliciously harmonious dessert table.
Make Ahead Options
These vibrant no-bake Red, White, and Blue Candy treats are perfect for meal prep enthusiasts! You can prepare the chocolate layers up to 24 hours in advance; simply follow the recipe up to the point where you add the toppings. Once your semi-sweet and white chocolate layers are set, wrap the baking sheet tightly in plastic wrap and refrigerate. When you’re ready to serve, simply sprinkle on the M&M’s, Oreos, and sprinkles right before serving to keep everything fresh and crunchy. This way, you save time on the day of your event and ensure your festive treat remains just as delicious and visually stunning!
How to Store and Freeze Red, White, and Blue Candy
Fridge: Store in an airtight container for up to one week. Keeping it chilled ensures the candy retains its texture and flavor.
Freezer: For longer preservation, freeze the candy in a single layer wrapped in plastic wrap, then place it in a freezer-safe bag for up to three months.
Reheating: If you prefer to enjoy them slightly softer, let them sit at room temperature for about 10 minutes before serving.
Expert Tips for Red, White, and Blue Candy
- Melt Carefully: Always melt chocolate over low heat to prevent it from seizing up. Use a double boiler for best results.
- Layer Distinction: Let the first layer of chocolate cool slightly before adding the next to keep layers beautifully distinct and vibrant in your Red, White, and Blue Candy.
- Sharp Tools Matter: Use a sharp knife for clean cuts; alternatively, breaking the bark by hand gives a charming, rustic look that feels homemade.
- Ingredient Quality: Choosing high-quality chocolate will make a significant difference in flavor, ensuring every bite of your candy bark is delicious.
- Chill Timing: Don’t rush the chilling process! Ensure each layer is properly set for the best texture and presentation of your festive treat.
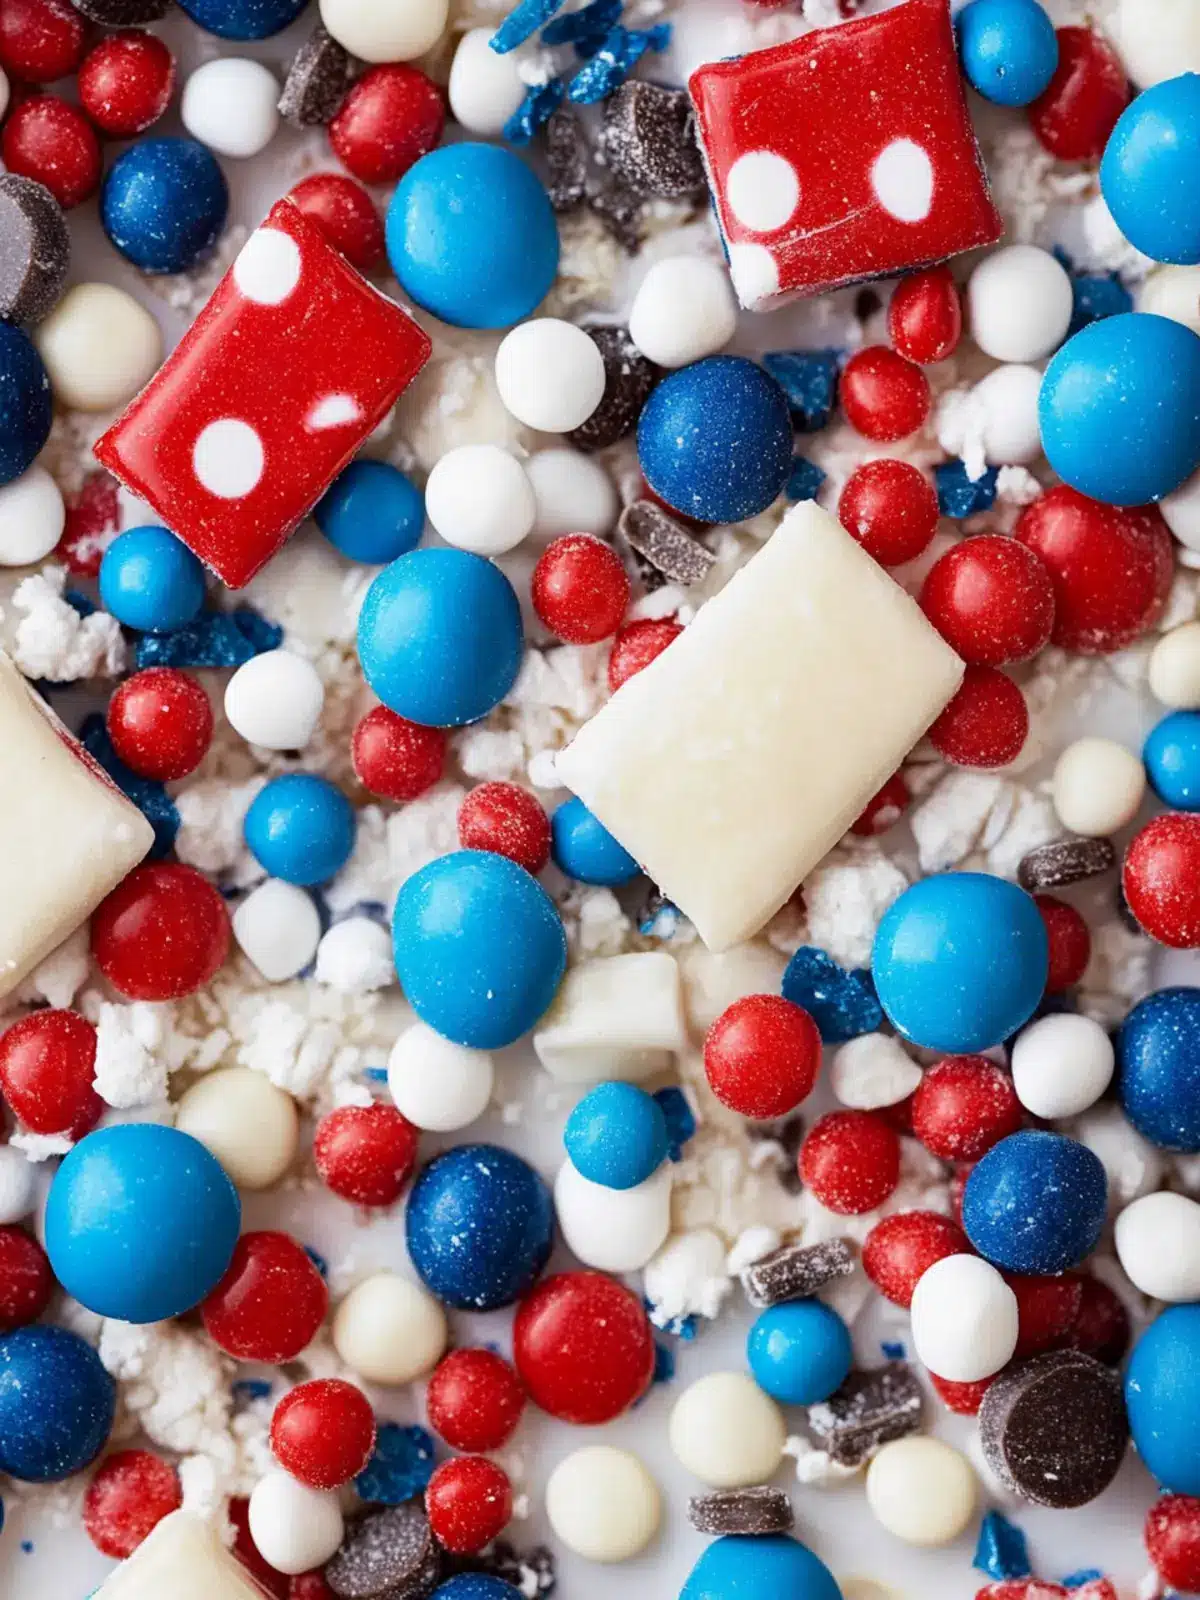
Red, White, and Blue Candy Recipe FAQs
What type of chocolate should I use for the best flavor?
Absolutely, for the best flavor in your Red, White, and Blue Candy, I recommend using high-quality semi-sweet chocolate and creamy white chocolate. If you’re looking for an extra touch of creaminess, try mixing in some milk chocolate with the semi-sweet; it creates a delightful balance!
How should I store the candy after making it?
Very simple! Just place your Red, White, and Blue Candy in an airtight container in the fridge. It will stay fresh for up to one week. Keeping it chilled helps preserve that lovely texture and flavor you enjoyed right after making it!
Can I freeze Red, White, and Blue Candy?
Absolutely! To freeze your candy, first lay the pieces in a single layer on a parchment-lined baking sheet and freeze until firm. Then wrap them in plastic wrap and place them in a freezer-safe bag. They can last for up to three months! When you’re ready to enjoy, just let them sit at room temperature for about 10 minutes to soften slightly.
What should I do if my chocolate seizes while melting?
Oh no! If your chocolate seizes, don’t panic. The best way to remedy this is to add a small amount of vegetable oil or cocoa butter to the seized chocolate and gently stir it over low heat until smooth. Make sure to melt your chocolate slowly next time, either using a double boiler or a microwave in short bursts to prevent this from happening again.
Can I make this treat allergen-free?
Absolutely! To customize your Red, White, and Blue Candy for those with allergies, simply look for allergen-free chocolate and cookies, as well as substitute gluten-free options if necessary. Reach out to your friends or family members with dietary restrictions and consider their favorite candies to create a version everyone can enjoy!
What can I substitute for Oreos in this recipe?
Very easy! If you want to swap out Oreos, consider using any crunchy cookies you enjoy—like graham crackers or chocolate wafer cookies. You could even add a sprinkle of chopped nuts for an exciting twist on texture!
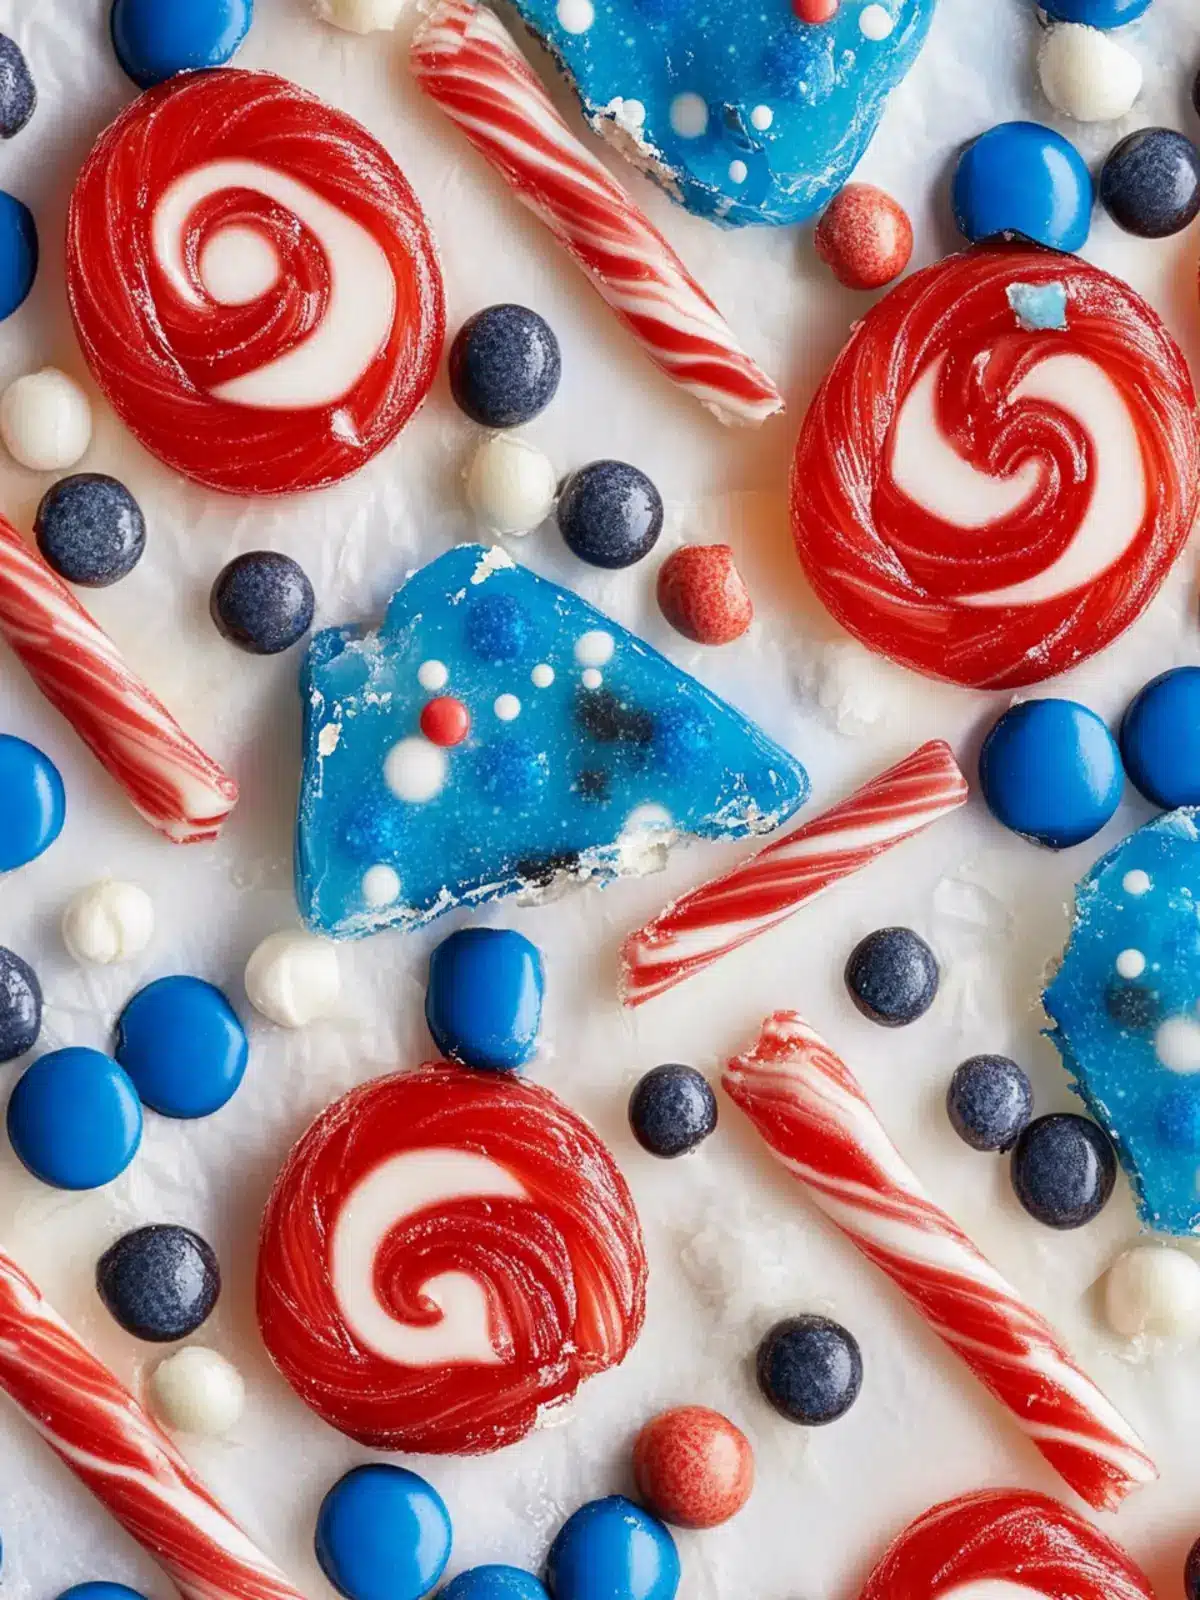
Festive Red, White, and Blue Candy You'll Love to Make
Ingredients
Equipment
Method
- Line a 10x15 baking sheet with parchment paper, ensuring it fits snugly.
- In a heat-safe bowl, melt semi-sweet chocolate over simmering water. Stir gently until smooth, then spread it evenly onto the prepared baking sheet. Chill in the fridge for about 10 minutes until slightly firm.
- Melt the white chocolate in the same way and spread it over the semi-sweet layer. Before it cools, sprinkle on M&Ms, chopped Oreos, and a generous amount of colorful sprinkles.
- Place the baking sheet back in the fridge and allow the candy to chill until fully set, approximately 30 minutes.
- Once set, remove from the fridge and either cut into squares or break into rustic pieces with your hands.
- Optional: Drizzle with additional melted chocolate for an extra sweet finish.