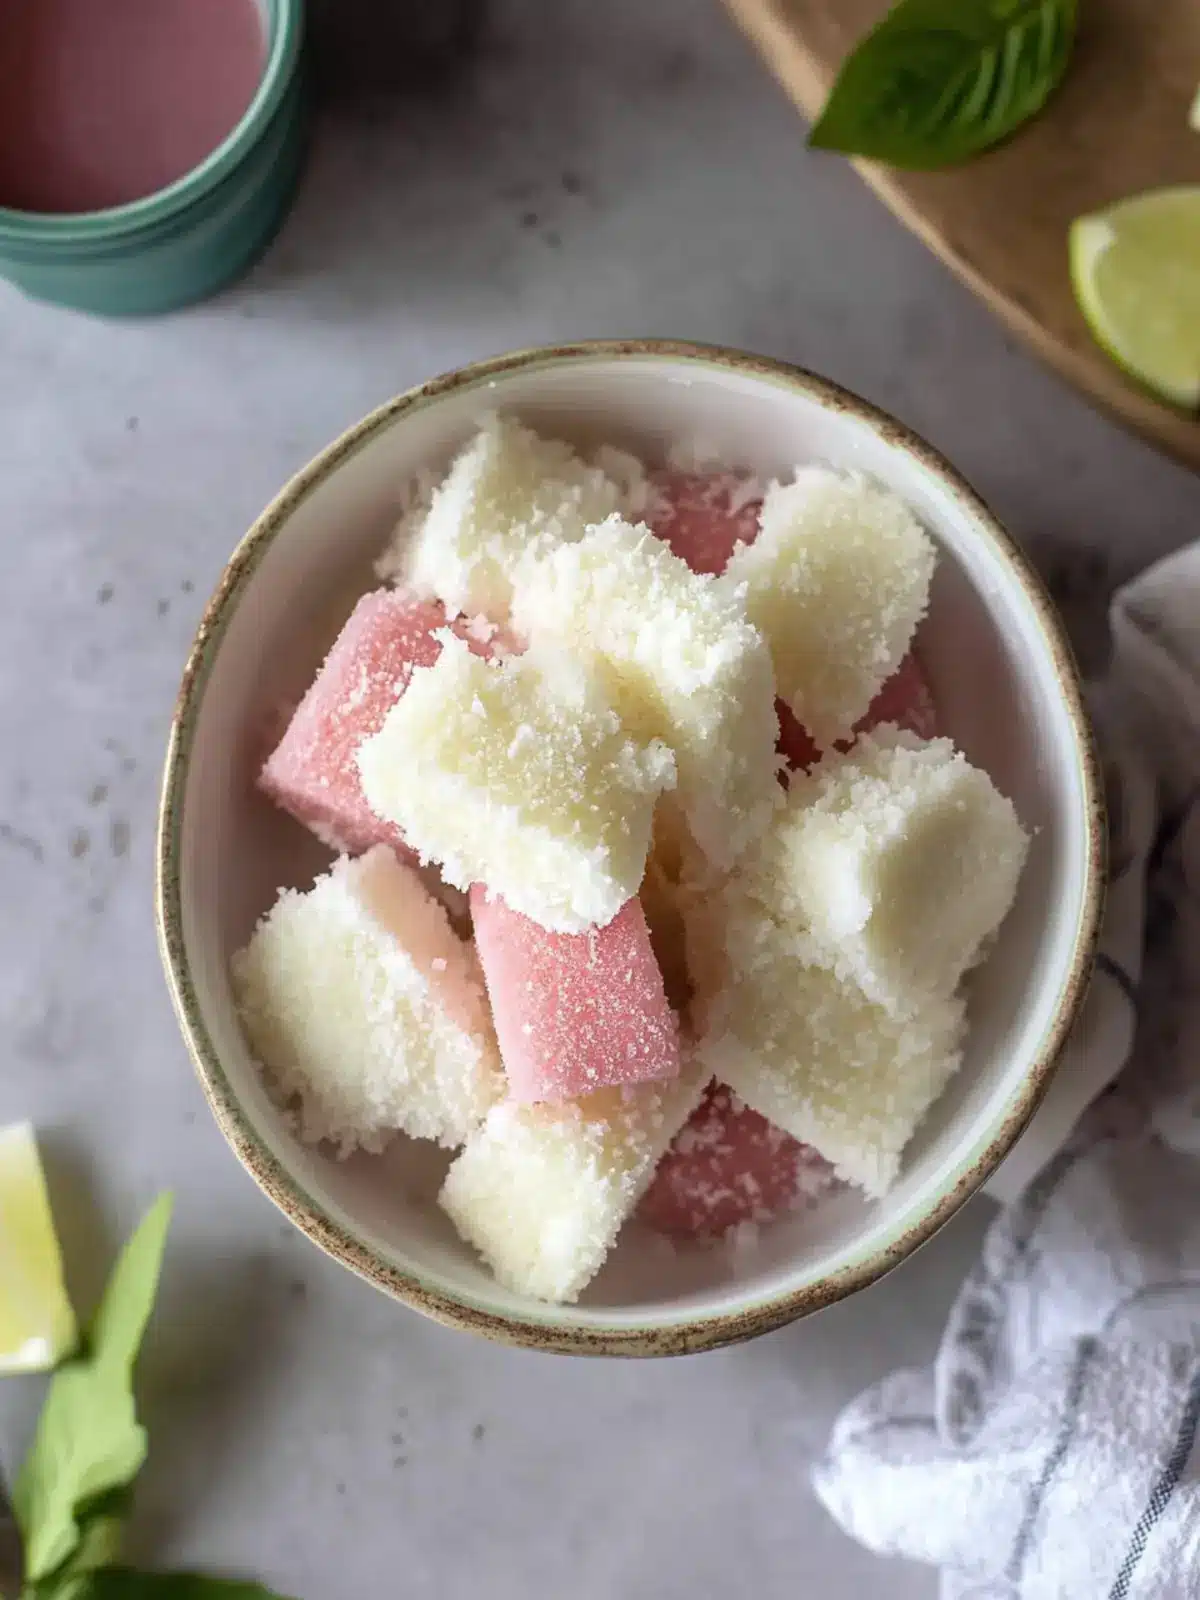
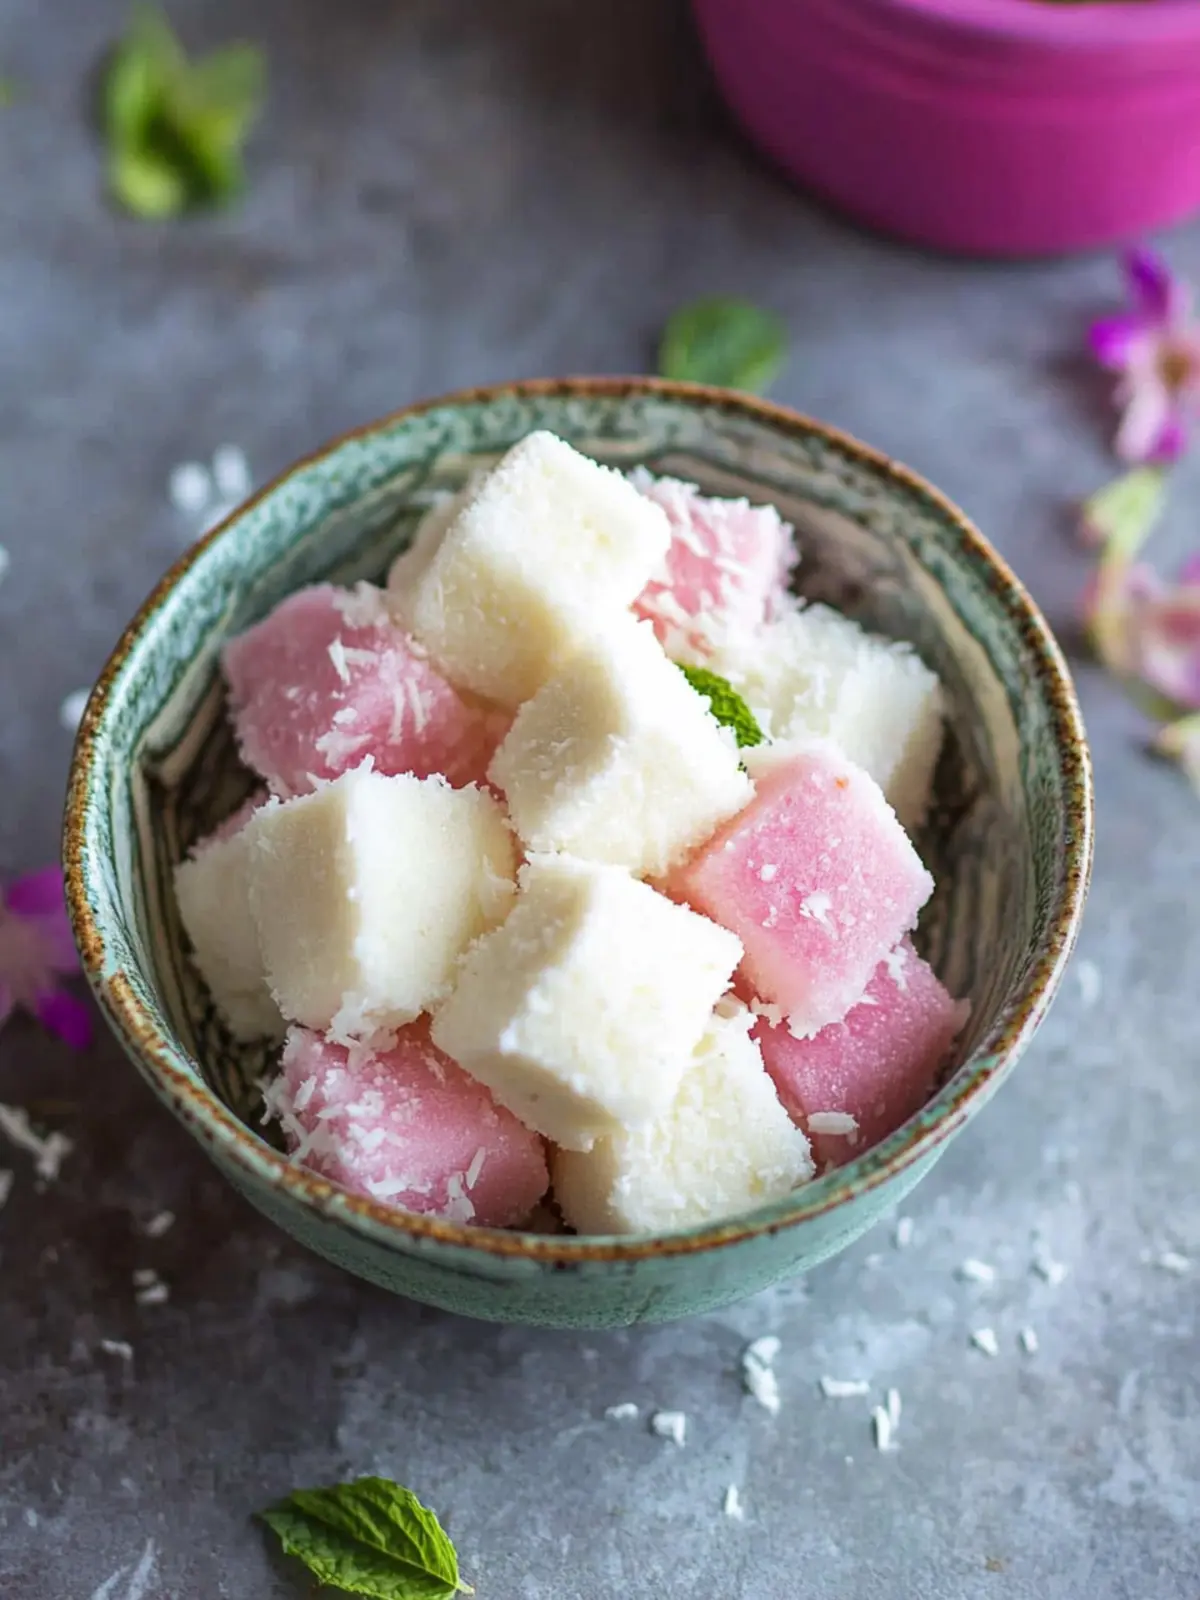
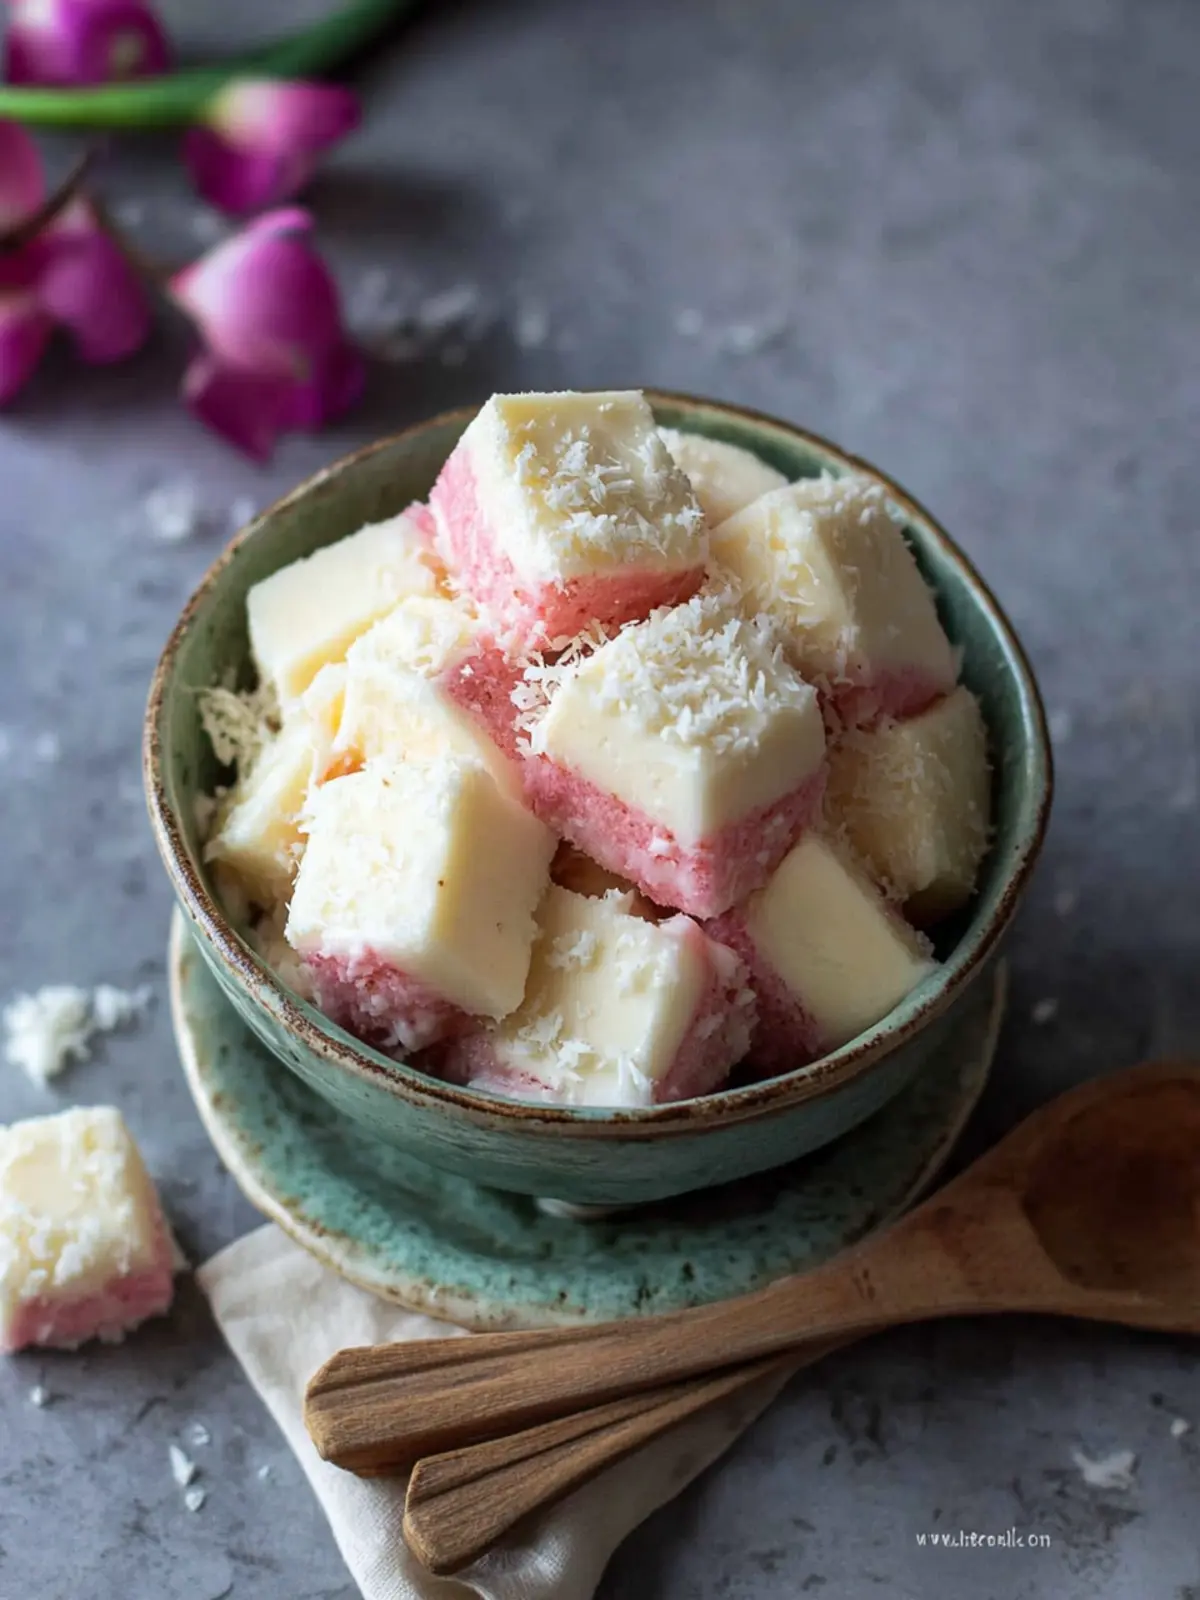
There’s a certain joy in discovering treats that are not only delightful but also simple to make. When I wanted to whip up something sweet without spending hours in the kitchen, I stumbled upon this Easy and Quick No Cook Coconut Ice recipe. With just five ingredients, each bite is a chewy blend of coconut sweetness, and the vibrant pink layer brings a festive flair that turns any gathering into a celebration.
Imagine pulling this colorful delicacy from the refrigerator, perfect for sharing during holiday get-togethers or as a unique gift for loved ones. The best part? It’s a no-cook marvel that even the busiest among us can master without breaking a sweat. So, let’s transform your pantry staples into a cheerful, homemade delight that will impress everyone from dinner guests to your adventurous kids!
Why is this Easy and Quick No Cook Coconut Ice so great?
Simplicity at Its Best: With only five ingredients, this festive treat is a breeze to make, even for beginners.
Chewy and Sweet: Each bite offers a delightful blend of coconut goodness, complemented by a creamy texture.
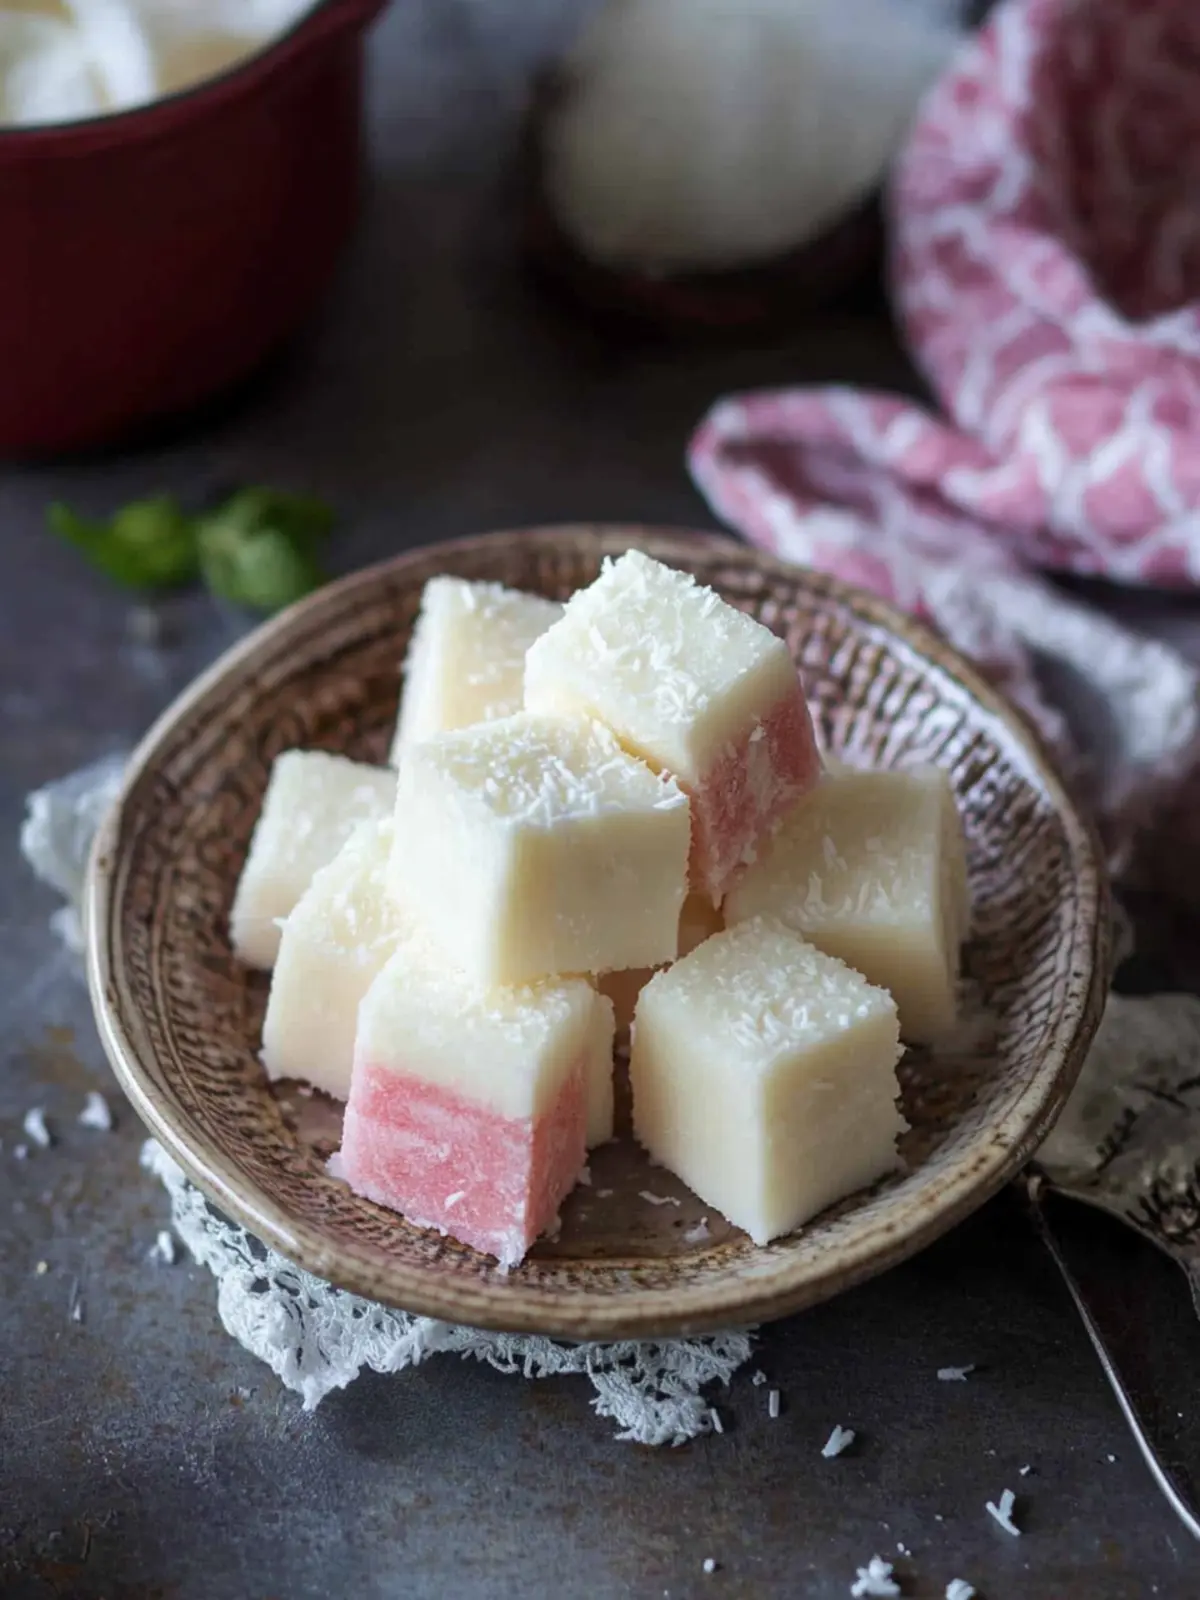
Visually Striking: The pink-and-white layers create a stunning presentation, perfect for entertaining or gifting.
No Cooking Required: Just mix, chill, and serve! This recipe saves you time without sacrificing flavor.
Versatile and Fun: Add your favorite color combinations or mix in dried fruits for a personal touch.
This delightful homemade treat can elevate your holiday gatherings or simply satisfy your sweet cravings.
Easy and Quick No Cook Coconut Ice Ingredients
For the Base Layer
- Desiccated Coconut – Provides that classic coconut flavor and chewy texture; ensure it’s finely dried for the best results.
- Icing Sugar – Adds sweetness and binds the mixture; be sure to sift it to avoid pesky lumps.
- Sweetened Condensed Milk – Acts as the glue for this treat, giving it a creamy consistency; substitute with coconut milk for a vegan-friendly option.
- Vanilla Extract – Elevates the flavor profile; consider almond extract for a different twist if you wish.
For the Pink Layer
- Pink Food Colour – This adds a festive touch; feel free to use any food coloring or omit it entirely for the traditional white coconut ice.
This Easy and Quick No Cook Coconut Ice recipe is perfect for those quick holiday treats that require minimal effort!
How to Make Easy and Quick No Cook Coconut Ice
-
Prepare the Pan: Line a 7×7 inch pan with parchment paper to make removal easy. This step ensures your coconut ice comes out smoothly without sticking.
-
Mix Ingredients: In a bowl, combine 1½ cups desiccated coconut and ½ cup icing sugar. Mix well until everything is evenly blended, creating a sweet and inviting aroma.
-
Add Creaminess: Stir in ½ cup sweetened condensed milk and 1 tsp vanilla extract. Mix until thick and sticky, perfect for shaping into layers. It should feel cohesive and slightly glossy.
-
Form the Base Layer: Press the mixture evenly into the prepared pan, forming a solid white base layer. Use your hands or the back of a spoon to compact it firmly; this helps prevent crumbling later.
-
Create the Pink Layer: In the same bowl, mix the remaining 1½ cups coconut, ½ cup icing sugar, ½ cup condensed milk, 1 tsp vanilla, and add a few drops of pink food coloring. Stir until smooth and everything is combined beautifully.
-
Spread the Mixture: Carefully spread the pink mixture over the white layer, smoothing the top with a spatula or spoon. Make it as even and lovely as possible for that stunning presentation.
-
Chill and Set: Cover the pan and chill in the refrigerator for at least 2 hours until firm. This cooling period allows the flavors to meld and the texture to solidify perfectly.
-
Slice and Serve: Once firm, cut into 1-inch squares and enjoy! You can serve them immediately or store in an airtight container for future sweet cravings.
Optional: Dust with extra icing sugar before serving for a touch of elegance.
Exact quantities are listed in the recipe card below.
How to Store and Freeze Easy and Quick No Cook Coconut Ice
Fridge: Store your coconut ice in an airtight container for up to 1 week. This keeps it fresh and chewy, making it perfect for sharing during festivities.
Room Temperature: If you’re serving it within 2-3 days, you can leave it at room temperature. Just ensure it’s covered to maintain its lovely texture.
Refrigeration before Serving: Chill for a few hours before serving, as this enhances the flavor and texture of your Easy and Quick No Cook Coconut Ice.
Make-Ahead: Preparing it a day ahead not only saves time but also helps the flavors meld beautifully, making your treat even more delicious!
Expert Tips for Easy and Quick No Cook Coconut Ice
-
Consistency Check: Ensure the mixture is sticky enough to hold together. If it’s too dry, add a touch more sweetened condensed milk until you reach the right texture.
-
Press Firmly: Use your hands or a flat object to press down the layers firmly into the pan. This helps prevent crumbling when cutting your Easy and Quick No Cook Coconut Ice.
-
Chill, Don’t Freeze: Always refrigerate for the best texture. Freezing can change the consistency, making it too hard.
-
Creative Color Swaps: Don’t hesitate to experiment with colors! Alternate shades for holidays, or try natural dyes like beet juice for a unique spin.
-
Storage Tips: Store in an airtight container to keep your coconut ice fresh for up to a week. If you plan to gift it, make it a day in advance for the flavors to deepen.
Easy and Quick No Cook Coconut Ice Variations
Get ready to take your treat to the next level with these delightful twists that will add even more charm to your coconut ice!
-
Dairy-Free: Substitute sweetened condensed milk with coconut cream or coconut milk for a creamy, vegan-friendly option that still delivers that indulgent sweetness.
-
Colorful Combinations: Experiment with holiday colors like green and red for Christmas, or pastel shades for Easter. It’s a fun way to celebrate any occasion with vibrant visuals.
-
Nutty Delight: Incorporate chopped nuts such as almonds or cashews into your mixture for added crunch and flavor. This provides a delightful contrast to the chewy coconut.
-
Fruity Twist: Mix in dried fruits like cranberries or apricots to the layers for a burst of natural sweetness and a chewy texture. The fruity notes will elevate every bite, making it even more festive.
-
Chocolate Lovers: Drizzle melted dark or white chocolate over the top layer before chilling. Chocolate pairs beautifully with coconut, creating a rich and decadent dessert.
-
Extra Flavor: Add a splash of rum or coconut rum to the mixture for an adult twist! This enhances the tropical flavor and brings a delightful depth to your coconut ice.
-
Spicy Kick: Experiment with a pinch of cinnamon or nutmeg in the base layer for a subtle warmth. It’s an unexpected twist that delights the palate.
-
Zesty Lemon: Incorporate lemon or lime zest for a refreshing citrus burst. This adds a bright note that complements the sweetness of the coconut wonderfully.
With these variations, your Easy and Quick No Cook Coconut Ice can shine at every gathering, bringing joy not just to your palate but to everyone who gets to share it!
What to Serve with Easy No Cook Coconut Ice?
Transform your celebrations with delightful pairings that complement each sweet, chewy bite.
-
Fresh Fruit Salad: A medley of seasonal fruits adds a refreshing contrast, balancing the sweetness of the coconut treat. The vibrant colors and textures make your presentation pop.
-
Spiced Hot Chocolate: This warm, creamy drink enhances the festive flavors while providing a comforting touch to your dessert spread.
-
Vanilla Ice Cream: Creamy and rich, it brings a luscious contrast to the chewy coconut ice, creating a heavenly texture combination. Serve alongside for a decadent experience!
-
Chocolate Dipped Strawberries: The sweet-tart strawberries and smooth chocolate add an elegant touch that beautifully complements the coconut’s sweetness.
-
Coconut Cream Pie: Keep the coconut theme going with this classic dessert. The creamy filling enhances the coconut flavor while providing a delightful contrast in textures.
-
Tea or Infused Water: Light herbal tea or refreshing infused water with slices of lime or mint will cleanse the palate, allowing each bite of coconut ice to shine.
-
Nuts & Dried Fruits: A mix of crunchy nuts and chewy fruits offers a variety of textures and flavors, creating a delightful snack board to share.
-
Festive Punch: A fruity, bubbly punch brings cheer to your table, enhancing the overall celebratory vibe of your sweet treats.
These pairings will elevate your holiday gatherings, making your Easy and Quick No Cook Coconut Ice the star of the show!
Make Ahead Options
These Easy and Quick No Cook Coconut Ice squares are perfect for meal prep enthusiasts! You can prepare the white and pink layers up to 24 hours in advance; simply follow the instructions, press them into the pan, and refrigerate until firm. Before serving, slice them into squares and let them sit at room temperature for about 10-15 minutes to soften slightly, ensuring a chewy texture. To maintain their delightful quality, store them in an airtight container in the refrigerator for up to one week. This convenient approach not only saves you time on busy days but also allows you to impress friends and family with little effort!
Easy and Quick No Cook Coconut Ice Recipe FAQs
How do I select the right desiccated coconut?
Absolutely! For the best results, look for finely shredded desiccated coconut without any added preservatives. It should be bright white, fluffy, and free of dark spots. A good-quality coconut will enhance the flavor and texture of your Easy and Quick No Cook Coconut Ice.
What is the best way to store Coconut Ice?
Very simple! Store your coconut ice in an airtight container in the refrigerator for up to 1 week. If you’re planning to consume it within 2-3 days, it can also be kept at room temperature, but make sure it’s covered to prevent drying out.
Can I freeze Coconut Ice?
Yes, you can! To freeze your coconut ice, first cut it into squares and place them on a baking sheet lined with parchment paper. Freeze until solid, then transfer the squares to an airtight container or a zip-top bag, layering with parchment paper if needed. It can be frozen for up to 3 months. Just thaw in the fridge for a few hours before serving.
What should I do if my mixture is too dry?
If your mixture feels dry and crumbly, don’t worry! Add more sweetened condensed milk slowly, about a tablespoon at a time, mixing well after each addition. You’re aiming for a sticky consistency that holds together well without being overly wet.
Is Coconut Ice safe for pets?
Great question! While coconut is not toxic to pets, the high sugar content in sweetened condensed milk can be harmful to dogs and cats. It’s best to keep your Easy and Quick No Cook Coconut Ice out of reach from furry friends. Always check with your vet if you’re unsure about any ingredients before sharing food with your pets.
Can I replace sweetened condensed milk with a dairy-free option?
Absolutely! For a vegan-friendly approach, try using coconut milk combined with a sweetener like maple syrup or agave nectar. Start with equal parts coconut milk and then add sweetener until you reach a sticky consistency similar to sweetened condensed milk. This way, you can still enjoy a delightful treat without the dairy!
Easy and Quick No Cook Coconut Ice Recipe for Festive Treats
Ingredients
Equipment
Method
- Line a 7x7 inch pan with parchment paper for easy removal.
- In a bowl, combine 1.5 cups desiccated coconut and 0.5 cups icing sugar and mix well.
- Stir in 0.5 cups sweetened condensed milk and 1 teaspoon vanilla extract until thick and sticky.
- Press the mixture evenly into the prepared pan to form the base layer.
- In the same bowl, mix the remaining 1.5 cups coconut, 0.5 cups icing sugar, 0.5 cups condensed milk, 1 teaspoon vanilla, and pink food coloring.
- Spread the pink mixture over the white layer and smooth the top.
- Cover and chill in the refrigerator for at least 2 hours until firm.
- Cut into 1-inch squares and serve. Dust with icing sugar for elegance if desired.

