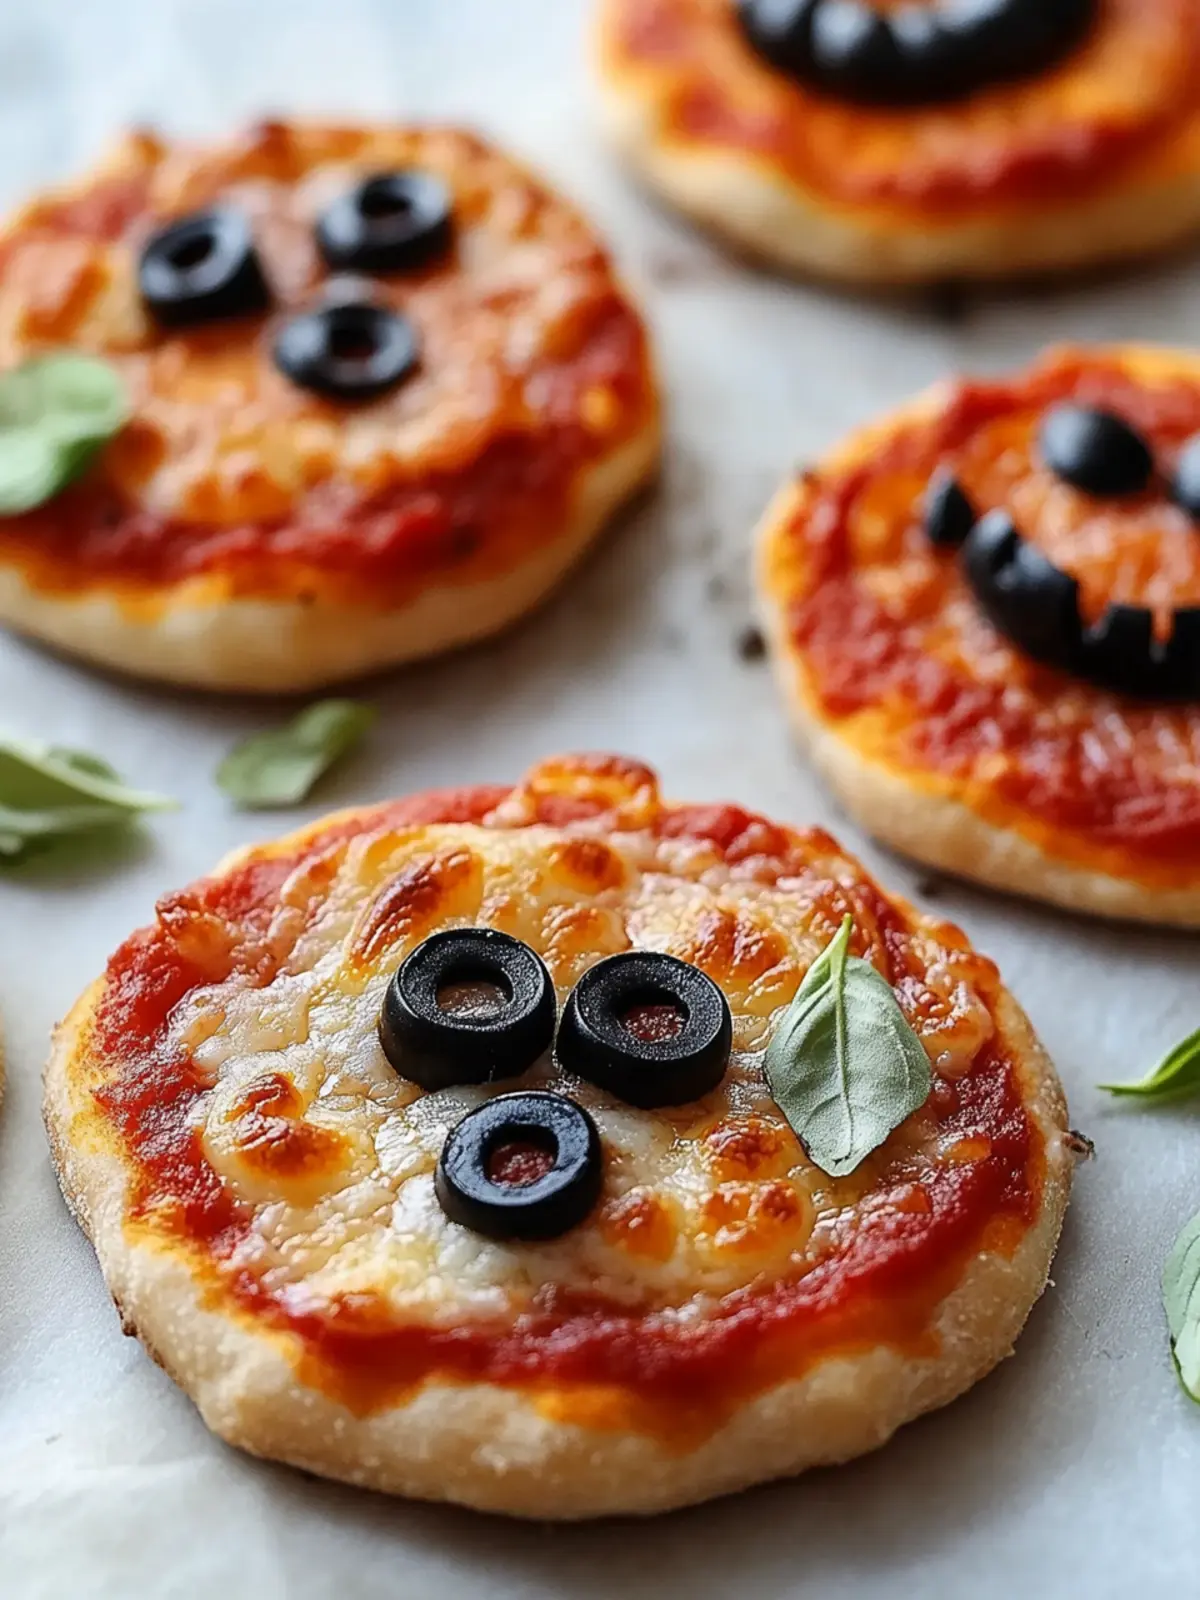
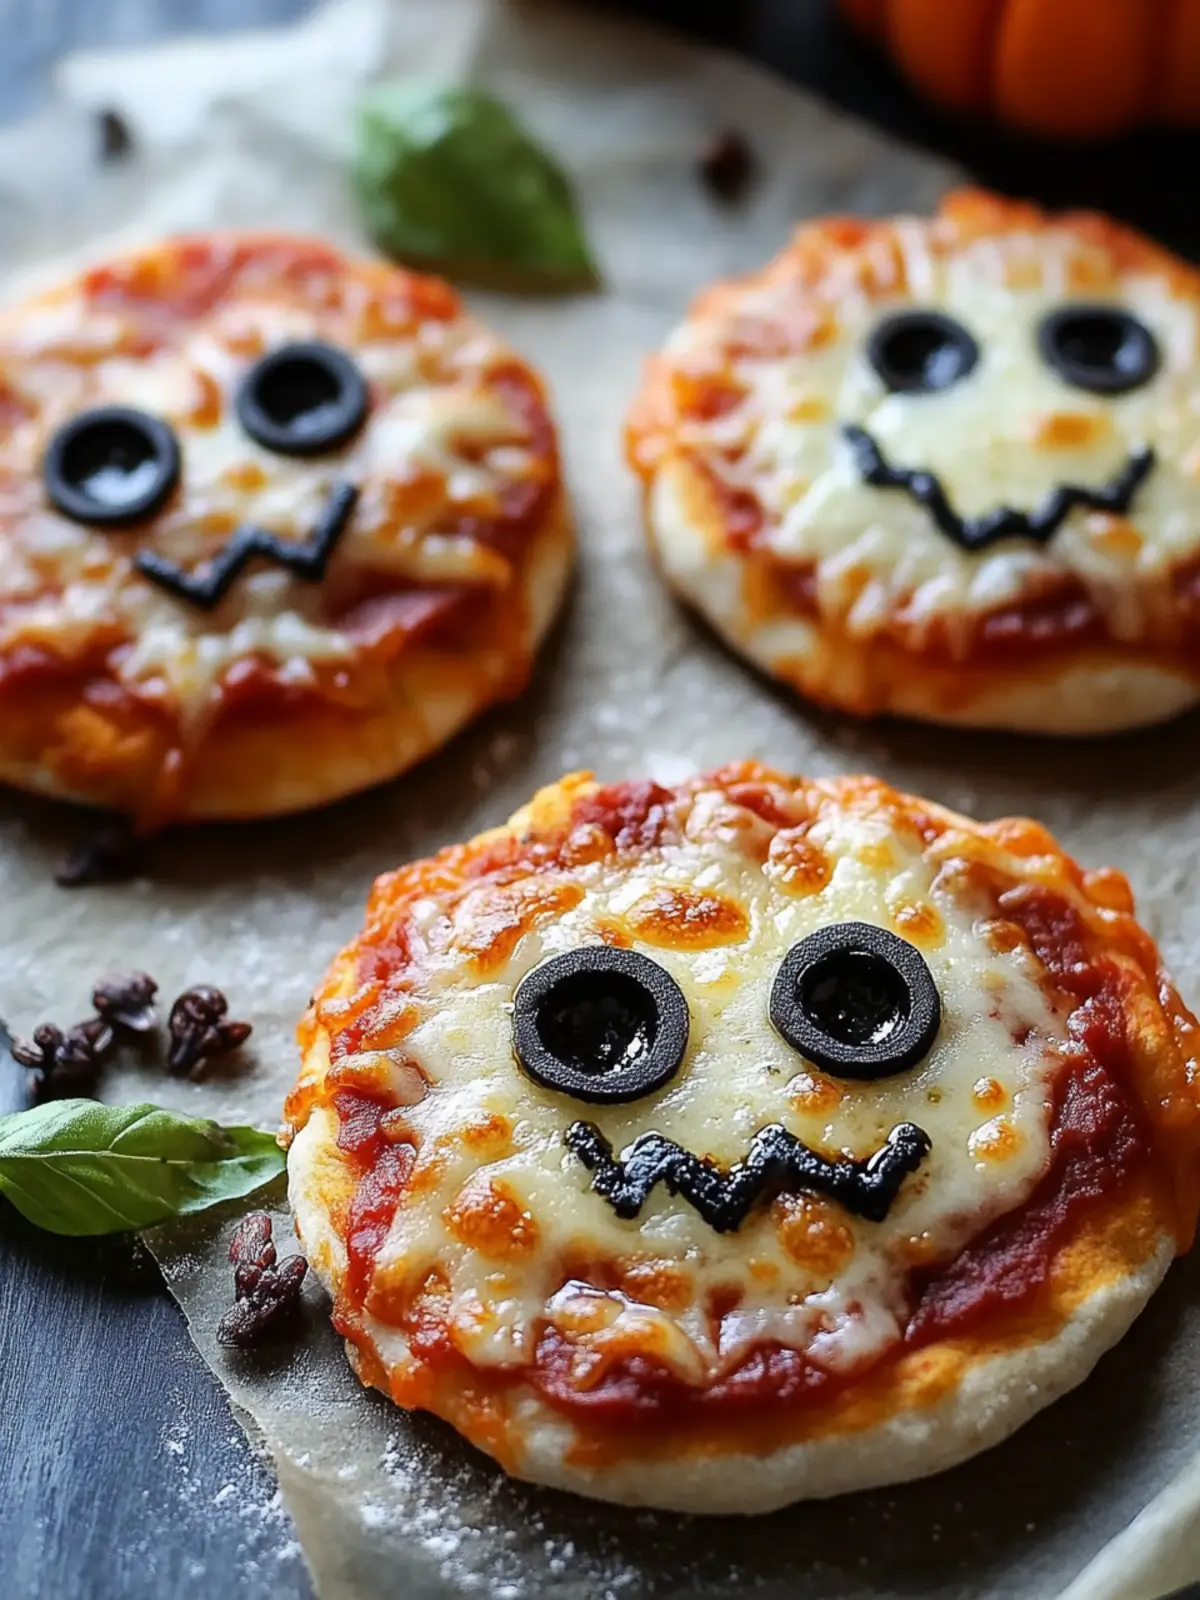
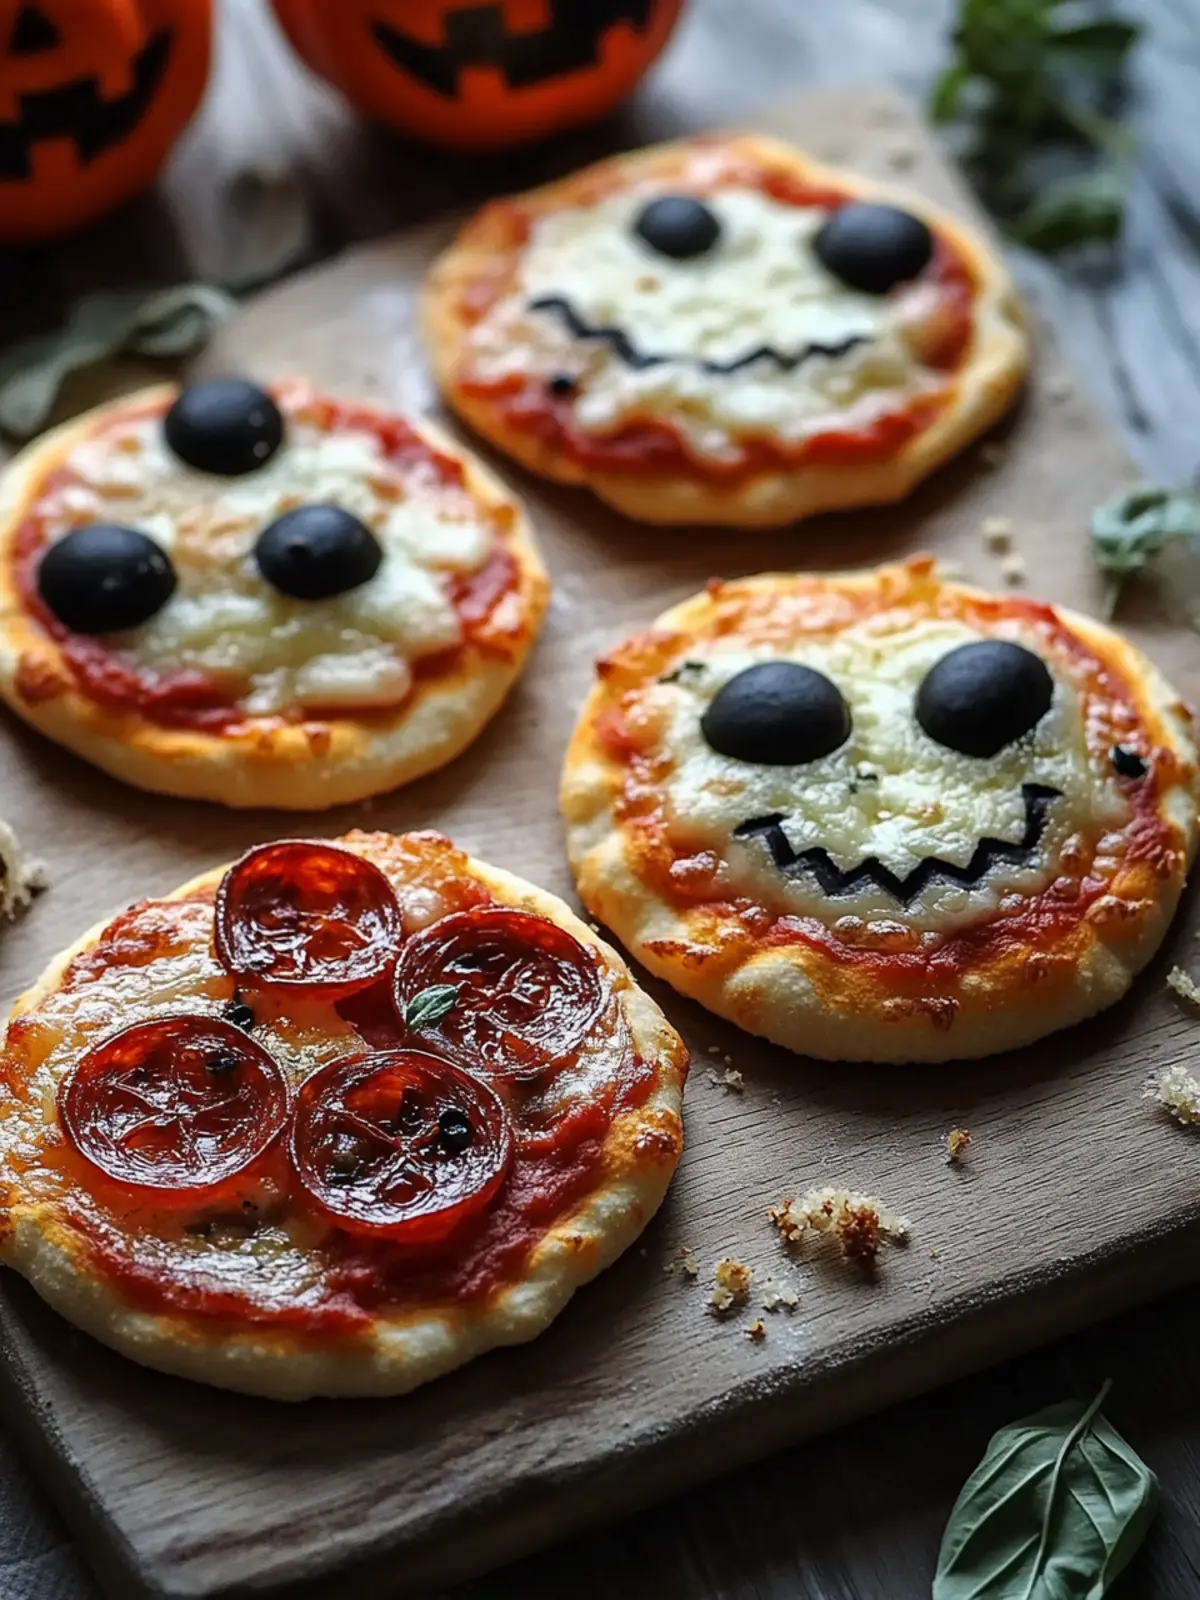
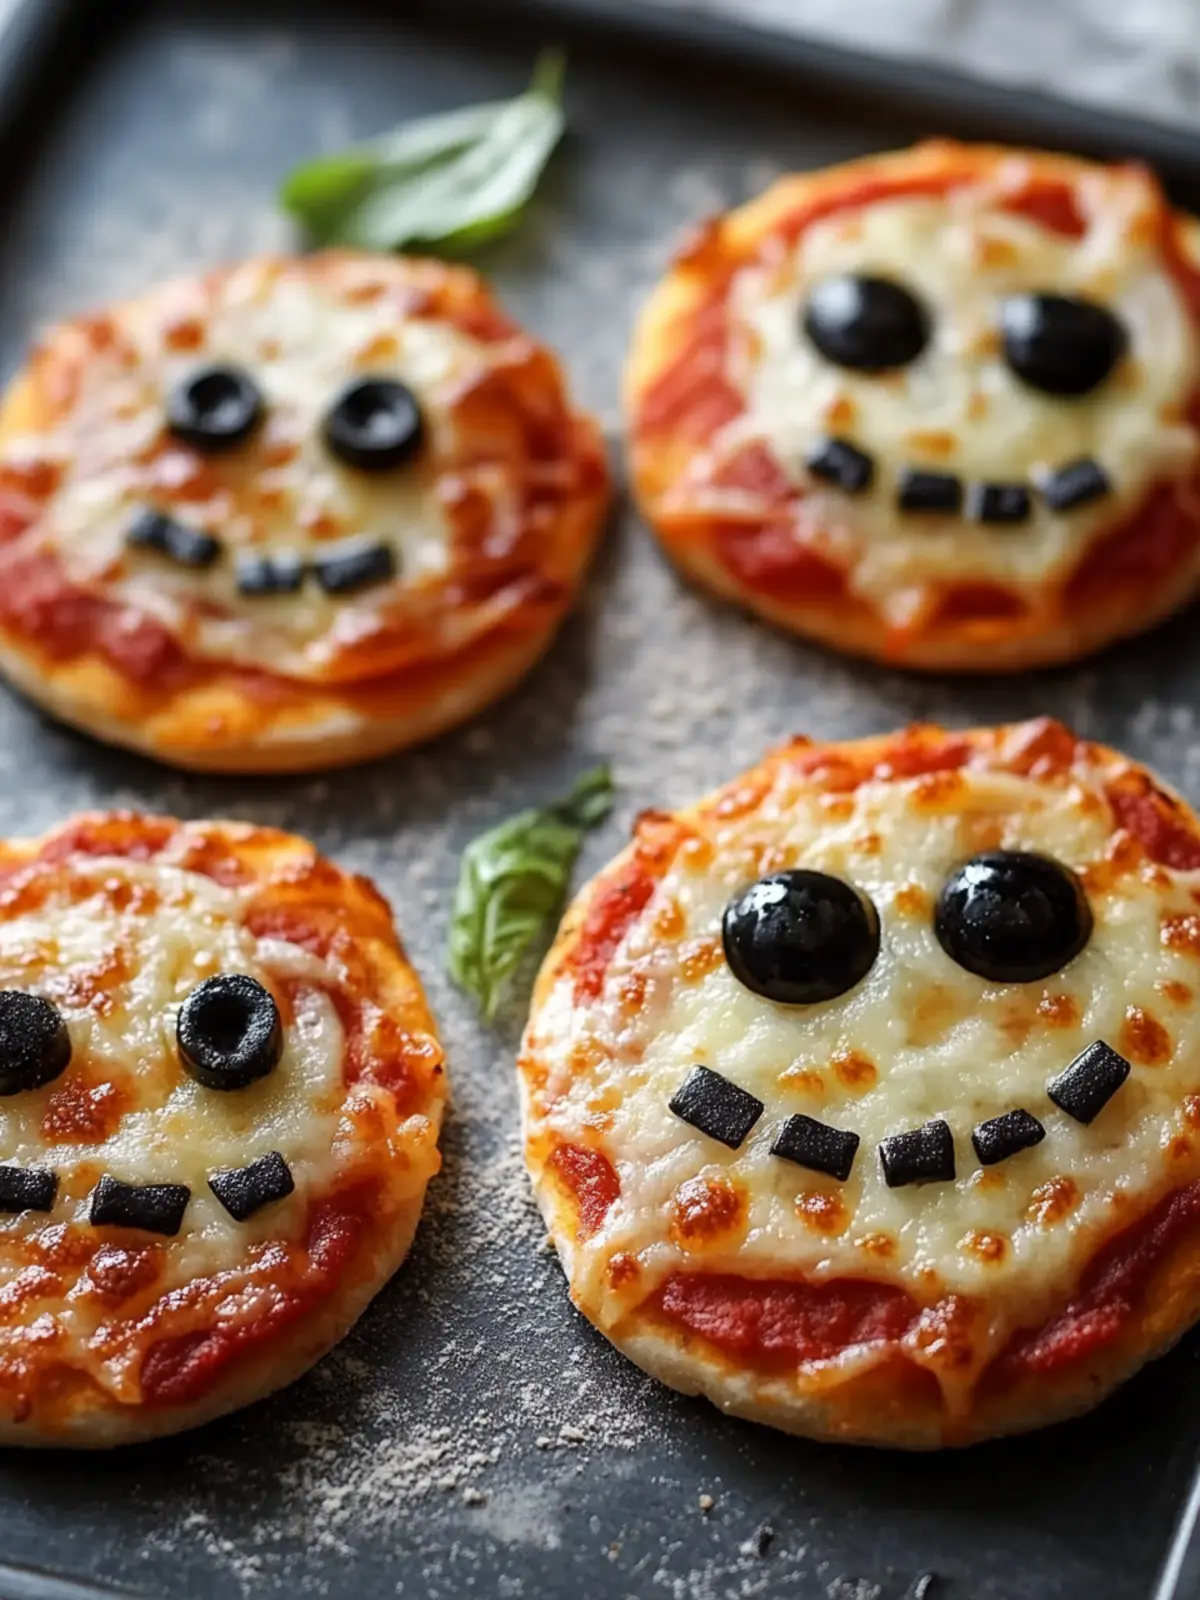
As the leaves begin to fall and the air turns crisp, Halloween festivities start to creep into our homes. This year, I’m all about creating magical moments in the kitchen, starting with these delightful DIY Mini Halloween Pizzas. The excitement begins with the sizzle of melted cheese and the warm aroma of fresh dough baking in the oven, ready to transform into spooky creations.
What I love most about these mini pizzas is their versatility; they can morph into charming ghosts, adorable mummies, or grinning jack-o’-lanterns, allowing both kids and adults to unleash their creativity. Whether you’re hosting a gathering or just looking for a fun activity on a crisp fall evening, these pizzas are not only easy to prepare but also pack a delicious punch. Perfect for any dietary preference and customizable with toppings galore, they’re guaranteed to bring smiles (and maybe a few squeals) to your Halloween table. Join me in making this festive treat that’s as fun to create as it is to eat!
Why Love DIY Mini Halloween Pizzas?
Endless Creativity: These pizzas allow you to design your spooky characters right in the kitchen, making meal prep a fun and interactive experience for everyone involved.
Kid-Friendly Fun: Perfect for the little ones, these mini creations are sure to spark joy and laughter at any Halloween gathering.
Quick to Prepare: With only a few simple steps, you can whip up these delicious treats in no time—ideal for busy families.
Customizable: Accommodate various dietary needs by choosing your favorite toppings; from vegetarian options to gluten-free crusts, everyone can enjoy!
Crowd-Pleasing Delight: Serve these whimsical mini pizzas at your Halloween party, and watch them disappear faster than candy!
Elevate your festivities with our easy-to-follow guide on creating these festive treats—your family will absolutely love it!
DIY Mini Halloween Pizzas Ingredients
For the Pizza Base
• Mini Pizza Crusts – Use store-bought or homemade for a quick and convenient base that will satisfy everyone.
• Pizza Sauce – Adds essential moisture and flavor; try garlic butter or pesto for a delightful twist.
For the Toppings
• Shredded Mozzarella Cheese – Provides that beloved gooey texture; cheddar also works if you prefer a sharper taste.
• Mozzarella Slices – Perfect for crafting ghost shapes; alternate with provolone for a nutty flavor.
• Pepperoni Slices – Offers a savory kick; vegetarian pepperoni is a great swap for meat-free options.
• Black Olives – Slice for spooky eyes; capers can add a gourmet flair for adventurous eaters.
• Orange Bell Pepper – Cut into festive pumpkin shapes for decoration; carrots can serve as a sweeter alternative.
Optional Toppings
• Variety of Veggies – Get creative with any colorful veggies you have on hand to make it even more lively.
• Seasonings and Herbs – Sprinkle some Italian seasoning or fresh basil for an extra burst of flavor.
These DIY Mini Halloween Pizzas are the perfect canvas for your culinary creativity, ensuring that every bite is not only delicious but also delightfully festive!
How to Make DIY Mini Halloween Pizzas
-
Preheat the oven to 400°F (200°C) and line a baking sheet with parchment paper. This helps the pizzas bake evenly and prevents sticking.
-
Arrange mini pizza crusts on the prepared baking sheet. Spread a generous layer of pizza sauce over each crust, ensuring they’re evenly coated for maximum flavor.
-
Craft Ghosts: For ghost pizzas, cut mozzarella slices into ghost shapes with a knife or cookie cutter. Place them atop the sauce and add black olives for spooky eyes, creating a fun and festive look.
-
Create Mummies: For mummy pizzas, lay strips of mozzarella in a criss-cross pattern across the sauce. Insert olive slices for eyes, and have some fun bringing these mummies to life!
-
Design Jack-o’-Lanterns: For jack-o’-lantern pizzas, sprinkle shredded mozzarella over each pizza and use orange bell pepper slices to carve out happy pumpkin faces, ensuring they’re both delightful and delicious.
-
Bake for 8-10 minutes, or until the cheese is melted and edges of the crust are golden brown. Keep an eye on them to catch that perfect melty goodness!
-
Serve warm and enjoy immediately for the best taste, while the cheese is still gooey and dreamy.
Optional: Garnish with fresh basil for a touch of color and flavor.
Exact quantities are listed in the recipe card below.
Expert Tips for DIY Mini Halloween Pizzas
• Choose the Right Crust: Opt for mini pizza crusts that are durable enough to hold toppings without getting soggy—thin crusts work best for these festive treats.
• Layer Wisely: Start with sauce, then cheese, followed by toppings. This prevents the crust from becoming too wet and ensures everything bakes evenly.
• Watch the Bake: Ovens can vary, so keep an eye on your pizzas to avoid overcooking. Remove them when the cheese is bubbly and the crust is golden brown for the best flavor.
• Keep It Fun: Involve kids in decorating their own pizzas! This not only sparks creativity but makes them more excited to eat their spooky creations.
• Storage Solutions: If you have leftovers, store your DIY Mini Halloween Pizzas in an airtight container. Just remember that reheating in the oven will maintain that crispy texture!
Make Ahead Options
These DIY Mini Halloween Pizzas are perfect for busy cooks looking to save time during the Halloween rush! You can prepare the mini pizza crusts and toppings up to 24 hours in advance. Simply assemble the pizzas without baking, and store them in an airtight container in the refrigerator to maintain their freshness. To keep the crusts crispy, avoid adding the sauce until you’re ready to bake them. When it’s time to serve, just spread the sauce, add the toppings, and bake for 8-10 minutes until golden. This way, you’ll have fun, festive, and freshly baked treats with minimal effort, allowing you to enjoy the spooky festivities!
What to Serve with DIY Mini Halloween Pizzas?
As you gather with loved ones for a festive Halloween celebration, it’s time to create a well-rounded meal that perfectly complements these spooky delights.
-
Crunchy Veggie Platter: Fresh carrots, cucumbers, and bell peppers add a refreshing crunch that balances the richness of the pizzas.
-
Creepy Cucumber Eyeballs: A fun twist on a classic snack, these cucumber slices topped with olives make for eerie yet healthy finger food.
-
Frightening Fruit Skewers: Assemble skewers of strawberries, grapes, and melon balls to bring a burst of color and sweetness to your spread.
-
Halloween-Themed Salad: A crisp salad with mixed greens, pumpkins seeds, and a zesty vinaigrette will add freshness to your table.
-
Themed Drinks: A sparkling “Witch’s Brew” or spooky mocktail will elevate your gathering and keep spirits high.
-
Ghoulish Dessert Cups: Serve dessert cups filled with chocolate mousse topped with whipped cream and cookie crumbles for a fittingly sweet end to the meal.
-
Charming Candy Corn Parfaits: Layer yogurt with candy corn and granola in clear cups for a delightful and festive treat.
Elevate your Halloween party with these enticing options that bring flavor and fun to your table alongside those delicious DIY Mini Halloween Pizzas!
DIY Mini Halloween Pizza Variations
Get ready to make your spooky creations even more exciting with these delightful variations!
- Sauce Swap: Replace pizza sauce with pesto or garlic butter for a vibrant flavor kick. It enhances the base and adds depth to your spooky designs.
- Cheese Change: Substitute shredded mozzarella with gouda or fontina for unique flavors that will surprise your taste buds. Go bold and let your cheese choice shine!
- Veggie Boost: Add sliced bell peppers, mushrooms, or spinach to make your pizzas even more colorful and nutritious. Kids often love to add their personal veggie twist!
- Spice It Up: Incorporate spicy pepperoni or jalapeños for an extra kick. A little heat can be the perfect contrast to the cheesy goodness!
- Herb Infusion: Sprinkle fresh herbs like basil or oregano on top before baking for a fragrant touch that elevates your Halloween pizzas. Aromatic herbs make each bite feel gourmet.
- Sweet Twist: Try a dessert version by swapping pizza sauce for Nutella and topping with fruits like banana slices and strawberries—perfect for a sweet Halloween treat to balance the savory!
- Crust Choices: Opt for cauliflower crusts for a healthier, low-carb option, or whole grain for added nutrients. These swaps can cater to various dietary needs while keeping taste intact.
- Fun Shapes: Use cookie cutters to make different shapes from vegetables or cheese slices to enhance the theme, adding an extra layer of fun and creativity to the process!
These creative variations will ensure that your mini pizzas reflect your unique tastes and spooky flair—so let your imagination run wild!
Storage Tips for DIY Mini Halloween Pizzas
Fridge: Store leftover DIY Mini Halloween Pizzas in an airtight container for up to 3 days. This helps maintain freshness and prevents them from drying out.
Freezer: For longer storage, place the cooled pizzas in a freezer-safe container or wrap them tightly in plastic wrap. They can be frozen for up to 2 months.
Reheating: To enjoy your pizzas again, reheat in the oven at 350°F (175°C) for about 10-15 minutes, or until warmed through and crispy again. Avoid using the microwave, as this may make the crust soggy.
DIY Mini Halloween Pizzas Recipe FAQs
What type of mini pizza crust should I use?
Absolutely! I recommend using mini pizza crusts that are sturdy enough to support your toppings without becoming soggy. Thin crusts work particularly well for these DIY Mini Halloween Pizzas, allowing for a nice crispy texture when baked.
How should I store leftover DIY Mini Halloween Pizzas?
For best results, store any leftover mini pizzas in an airtight container in the fridge. They’ll stay fresh for up to 3 days. This keeps them moist without drying out—perfect for quick snacks!
Can I freeze these mini pizzas? How?
Yes, you can freeze these delightful treats! After they’ve cooled, place the mini pizzas in a freezer-safe container or wrap them tightly in plastic wrap. They will last for up to 2 months in the freezer. When you’re ready to enjoy them again, just reheat in the oven at 350°F (175°C) for about 10-15 minutes until they’re warm and crispy.
What do I do if the cheese isn’t melting properly?
Don’t fret! If your cheese isn’t melting well, you may need to leave the pizzas in the oven a little longer. Ovens can vary, so check them at the 8-minute mark. If the edges are golden but the cheese isn’t bubbly yet, give them a few more minutes and keep an eye on them to prevent burning.
Are there any dietary considerations I should be aware of?
Certainly! These DIY Mini Halloween Pizzas are highly customizable. You can easily adjust the ingredients to suit various dietary needs, such as using gluten-free crusts or opting for vegetarian toppings like veggie pepperoni. Always check labels for allergens if you’re serving guests with dietary restrictions, like dairy or gluten sensitivities.
Can I use a different type of cheese?
Very! While mozzarella is the classic choice for its gooeyness, feel free to experiment with other cheeses like cheddar for a sharper taste or goat cheese for a creamy texture. Just remember, each cheese will lend its unique flavor to your mini Halloween pizzas!

DIY Mini Halloween Pizzas: Fun Treats for Spooky Celebrations
Ingredients
Equipment
Method
- Preheat the oven to 400°F (200°C) and line a baking sheet with parchment paper.
- Arrange mini pizza crusts on the prepared baking sheet. Spread a generous layer of pizza sauce over each crust.
- For ghost pizzas, cut mozzarella slices into ghost shapes and place them on the sauce, adding black olives for eyes.
- For mummy pizzas, lay strips of mozzarella in a criss-cross pattern, inserting olive slices for eyes.
- For jack-o'-lantern pizzas, sprinkle shredded mozzarella and use orange bell pepper slices to carve out pumpkin faces.
- Bake for 8-10 minutes, until the cheese is melted and crust edges are golden brown.
- Serve warm and enjoy immediately.


